
Last updated November 2, 2026
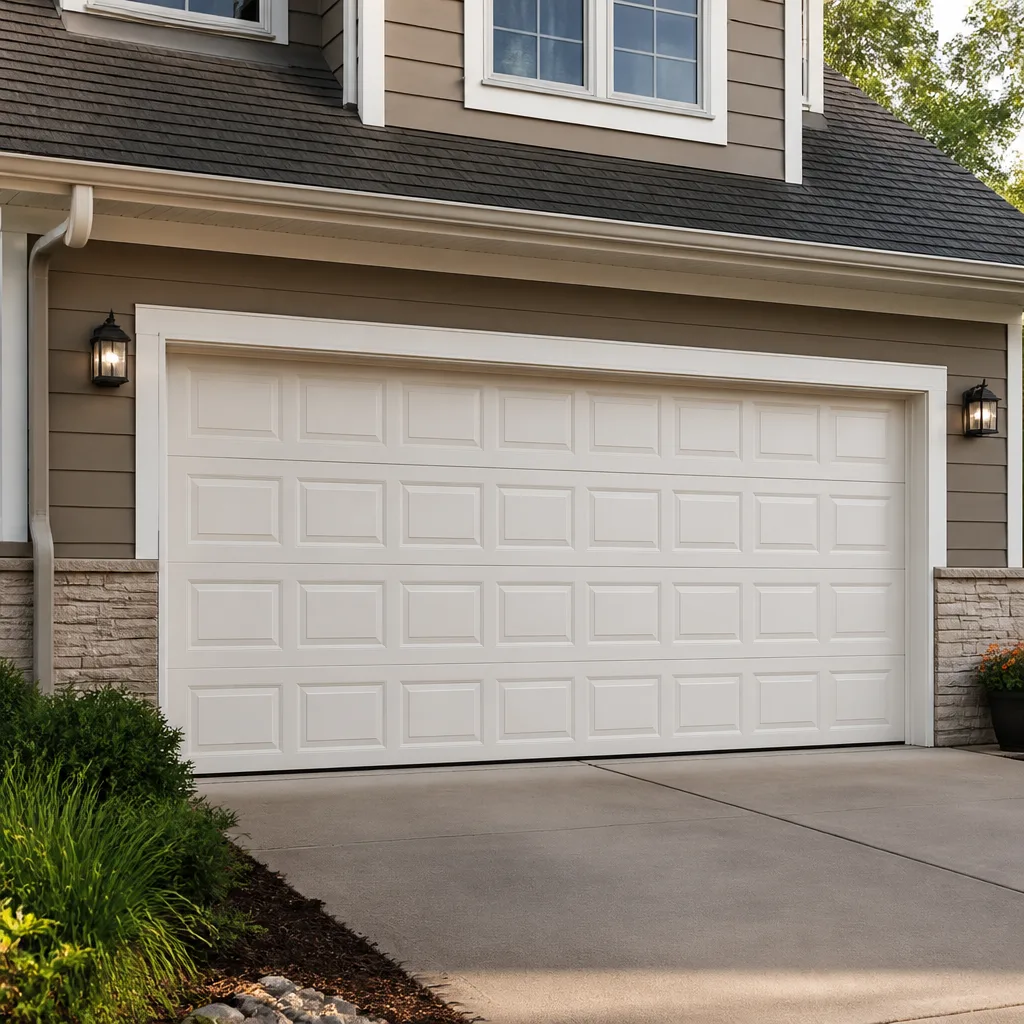 Raised-panel steel
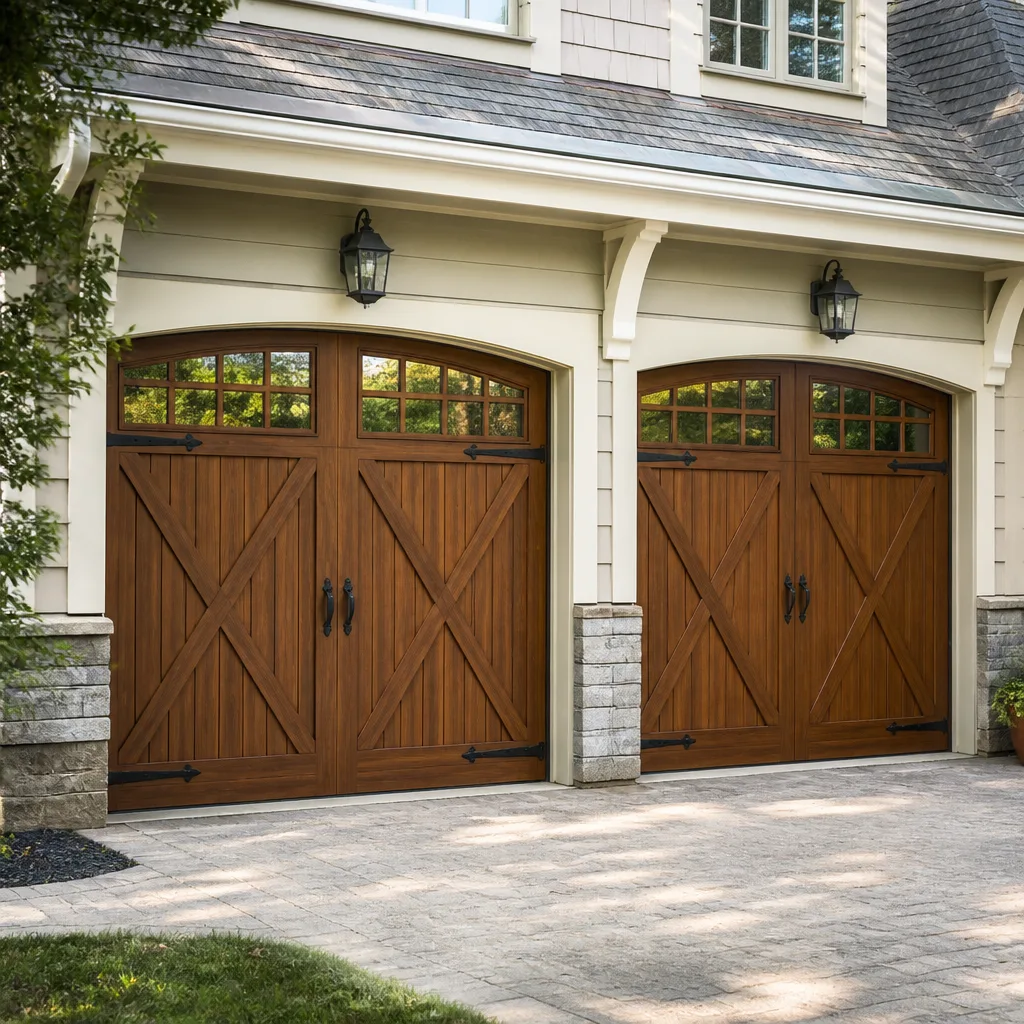 Carriage house
 Modern flush
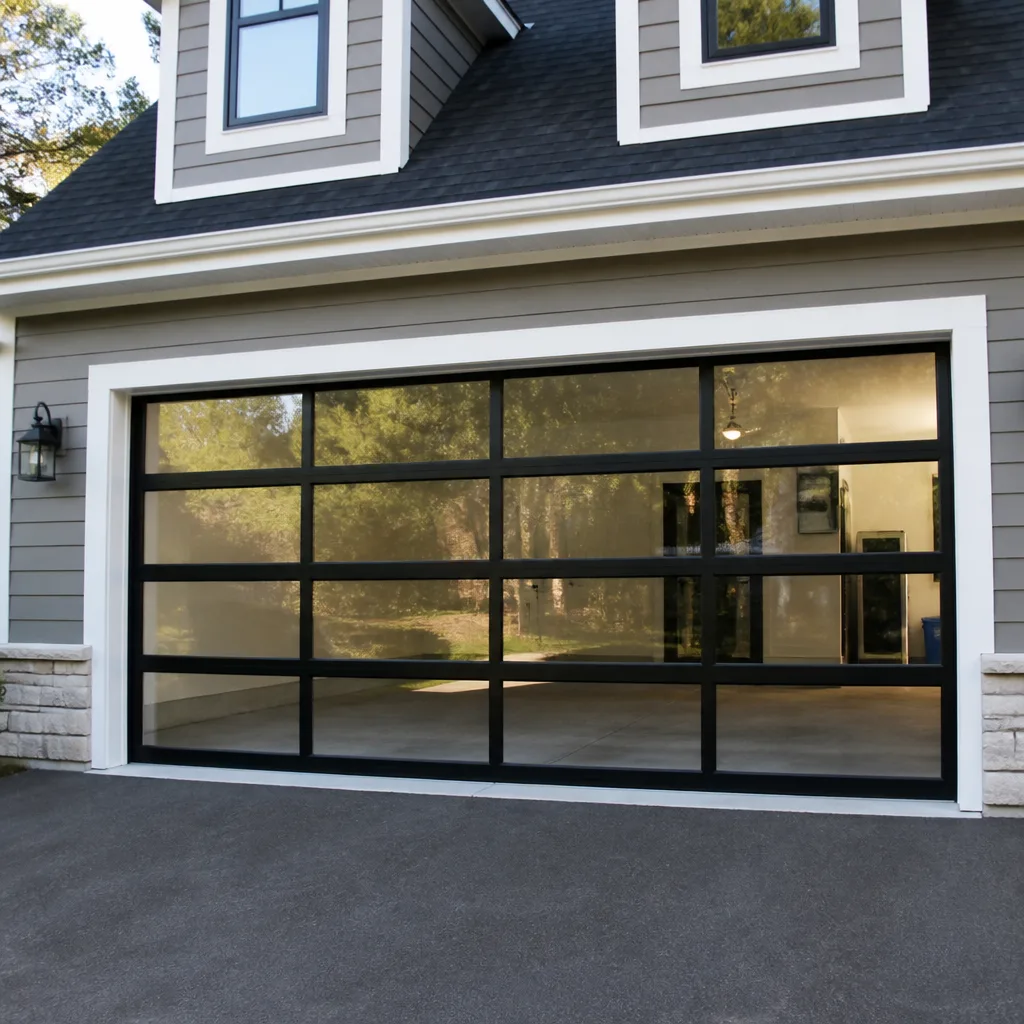 Full-view glass
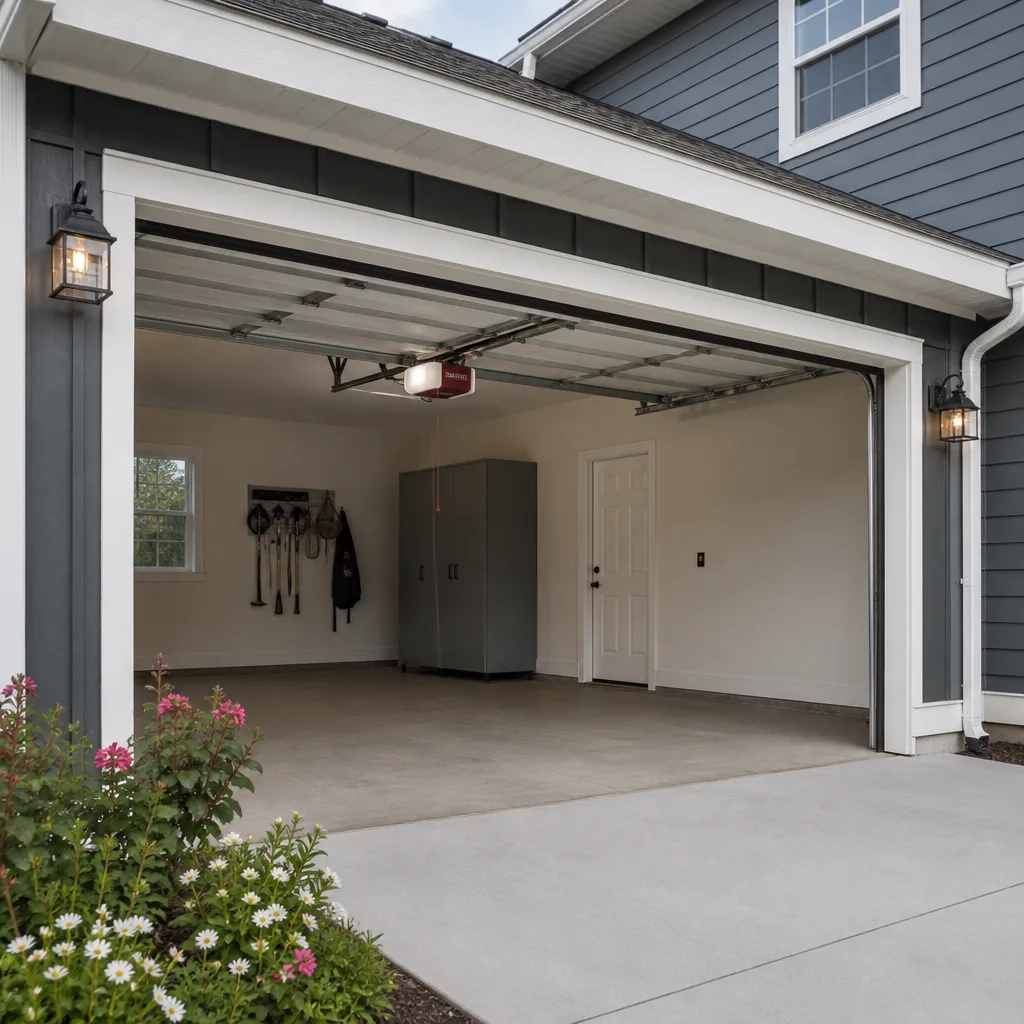 LiftMaster openers
 Chamberlain openers
Full 25-point door and opener safety check with every visit - springs, cables, rollers, tracks, and your LiftMaster or Chamberlain opener included
You get a price before we start. It does not change when the truck arrives.
Get your free estimateGarage Door Repair Troubleshooting: Common Problems and How to Fix Them
Here’s a counterintuitive fact we see in Orange, CA week after week: the single most expensive troubleshooting mistake homeowners make is resetting the opener when the real problem is mechanical. They unplug the unit, wait, plug it back in, reprogram the remotes, and the door still won’t budge. All that resetting doesn’t fix a broken spring, and it sometimes turns a minor fix into a component replacement by straining the motor against a door that was never going to move in the first place. This guide will teach you how to tell a $30 sensor fix from a $400 spring replacement before you touch anything.
Styles & brands we work with
- Raised-panel steel
- Carriage house
- Modern flush
- Full-view glass
- LiftMaster openers
- Chamberlain openers
Quick Answer
Garage door repair troubleshooting starts with identifying what the door actually does (or refuses to do): it won’t move at all, it moves then reverses, it moves slowly, it makes noise but doesn’t open, or it works manually but not with the opener. Each behavior points to a different component, and fixing the wrong one wastes time and money. Most safe DIY fixes involve the photo-eye sensors, track alignment, or opener force settings; springs, cables, and anything under tension require a trained professional.
Table of Contents
- Symptom-First Diagnosis: What the Door Is Telling You
- Step 1: Use the Manual Release Cord to Isolate the Problem
- Decoding LED Blink Codes on LiftMaster, Chamberlain, Craftsman, and Genie
- The 5-Minute Visual Inspection: Springs, Cables, Tracks, Rollers, and Sensors
- Door Won’t Move at All: Common Causes and Fixes
- Door Moves Then Reverses: Sensor and Limit Issues
- Door Moves Slowly or Jerkily: Track, Roller, and Opener Problems
- Noise But No Movement: Opener Gears, Couplers, and Disconnect Switches
- Symptoms That Demand Immediate Attention: Springs and Cables Under Tension
- Common Mistakes to Avoid
- When to Call a Professional
- Frequently Asked Questions
- The Bottom Line
Symptom-First Diagnosis: What the Door Is Telling You
Most troubleshooting guides organize problems around components: springs, rollers, sensors, openers. That’s backwards for a homeowner. You don’t know what a torsion spring is or where it lives, and you shouldn’t have to. What you do know is what the door does when you press the button. That behavior is the diagnostic data, and it’s remarkably consistent across every garage door system we service in Orange, from a 20-year-old Wayne Dalton to a brand-new LiftMaster.
Here’s what we mean. A door that won’t move at all points to one set of causes. A door that moves partway and reverses points to a different set. A door that moves but grinds or labors points to a third. The behavior narrows the problem before you ever look at a part. This approach also prevents the exact scenario we described in the opening: treating a mechanical failure as an electronic one, which wastes time and can damage the opener motor.
Here are the five primary symptom patterns and what each one indicates:
- Door won’t move at all: the problem is usually a power issue, a locked door, a broken spring, or a failed opener component.
- Door moves 6-12 inches then reverses: the problem is almost always photo-eye sensors, force settings, or an obstruction.
- Door moves slowly or jerkily: the problem is usually track friction, worn rollers, an unbalanced door, or an opener struggling against resistance.
- Door makes noise but doesn’t open: the problem is typically a stripped gear, a broken coupler, or the door is stuck in manual mode.
- Door opens manually but not with the opener: the problem is in the opener, the remote, or the wall switch, not in the door itself.
Each of these symptoms sends you down a different diagnostic path. The rest of this guide walks through them one at a time, with the safest checks first. We work on what you already have, regardless of brand, so these steps apply whether your opener says LiftMaster, Chamberlain, Genie, Craftsman, or Raynor on the side.
Step 1: Use the Manual Release Cord to Isolate the Problem
The single most informative diagnostic move you can make is also the simplest: pull the manual release cord. That’s the red handle hanging from a rope near the opener rail. Pulling it disconnects the door from the opener carriage, letting you operate the door by hand. What you learn in the next 30 seconds tells you which half of the system failed.
Here’s how to do it safely, step by step:
- Close the door if it isn’t already closed. If it’s stuck open and won’t close, do not pull the release cord while the door is elevated. A door with a broken spring will crash down when released. Call a professional instead.
- Pull the red release handle straight down. You’ll hear a click as the carriage disengages from the chain or belt.
- Lift the door manually by its handle. It should move smoothly with moderate effort, roughly 8-10 pounds of force.
- Test the balance: lift the door to about waist height and let go. A properly balanced door stays in place. A door that slams down or shoots up is out of balance.
- Reconnect the opener by pressing the wall button. The carriage will re-engage on its next travel cycle.
Here’s what the results tell you. If the door opens smoothly by hand, the door itself (springs, cables, tracks, rollers) is functional, and the problem is in the opener, the remote, or the power supply. If the door is heavy, stuck, or impossible to move manually, the problem is mechanical, and no amount of opener resetting will fix it. This single test saves more misdiagnosed service calls in Orange than any other check.
Decoding LED Blink Codes on LiftMaster, Chamberlain, Craftsman, and Genie
Your opener has a diagnostic brain, and it communicates through blinking LEDs. Most homeowners never look at the blink pattern, but it’s the closest thing to plugging a code reader into your garage door system. Here are the sequences for the four most common opener brands, and what each one actually means.
LiftMaster and Chamberlain (including most Craftsman models made since 1995)
- 1 blink: The safety sensors are misaligned or blocked. Clean the lenses, check for obstructions, and align the sensors.
- 2 blinks: The safety sensors are wired incorrectly or have a short. This is more serious than misalignment and often requires a wire trace.
- 3 blinks: The door control wall panel or wiring is shorted. Check the wall button and its wire run.
- 4 blinks: The sensors are slightly misaligned or have an intermittent connection. This often shows up after the door reverses for no visible reason.
- 5 blinks: The motor overheated or the RPM sensor failed. Give it 15 minutes and try again. If it returns, the logic board may need replacement.
- 6 blinks: The door is out of balance or moving with too much resistance. This is a mechanical signal, not an electronic one. Check the springs and tracks.
Genie
- 1 blink: The door won’t move because the Safe-T-Beam sensors are blocked or misaligned.
- 2 blinks: The door reversed or stopped due to an obstruction or excessive closing force.
- 3 blinks: The opener ran for more than 30 seconds without reaching the limit switch. This usually means the carriage is disengaged or the belt/chain broke.
- 4 blinks: The limit switch signals are reversed or the logic board is confused. A hard reset may clear this, but repeated codes mean a board replacement.
These codes are specific and useful. A 1-blink code is almost always a 10-minute DIY fix. A 6-blink LiftMaster code tells you the problem is mechanical, not electronic, and the opener is telling you to stop trying to make it work. We carry parts for all four of these brands on our trucks, which means we diagnose faster when a service call is needed anywhere in Orange.
The 5-Minute Visual Inspection: Springs, Cables, Tracks, Rollers, and Sensors
Before you call anyone, a five-minute visual check can narrow the problem to one of three zones: springs and cables, tracks and rollers, or the opener and sensors. Each zone has a signature look when it’s failing. Here’s what to look for, in order of importance.
Zone 1: Springs and Cables (the danger zone)
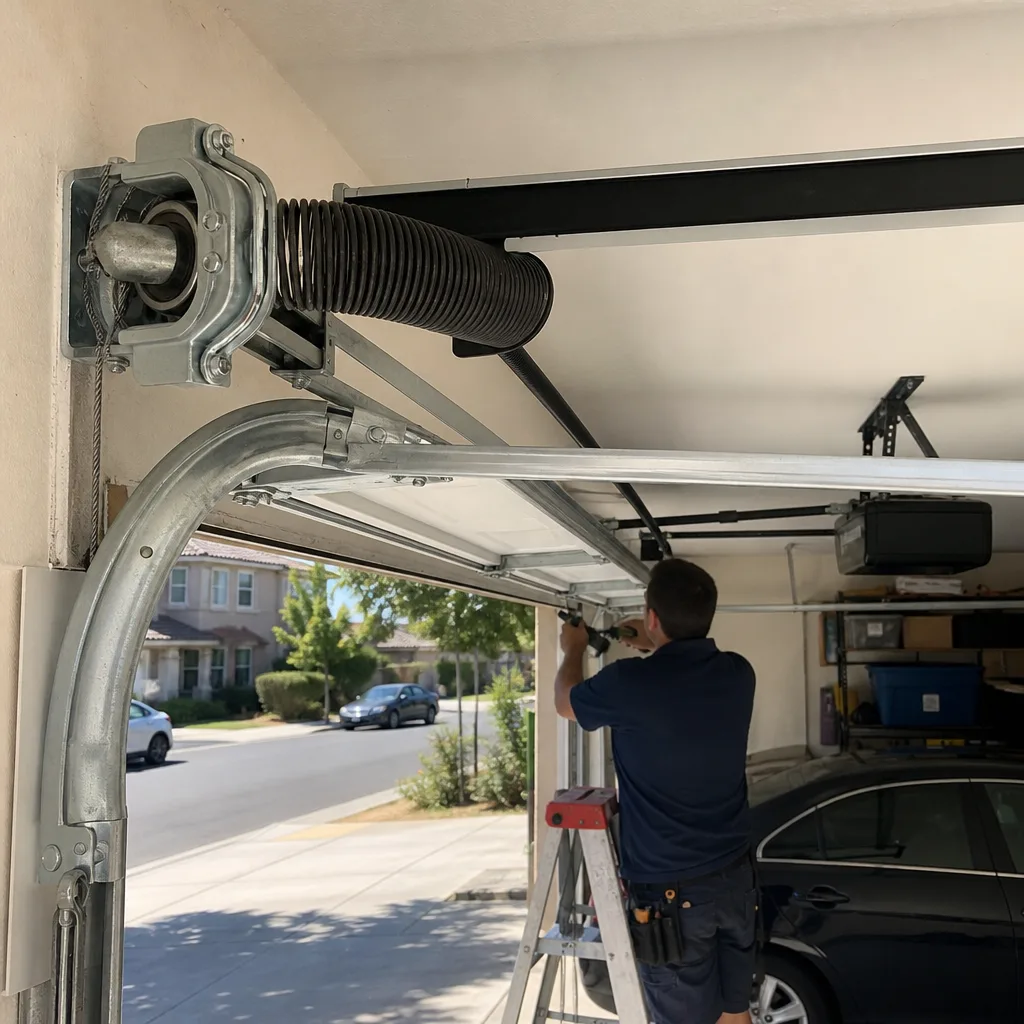
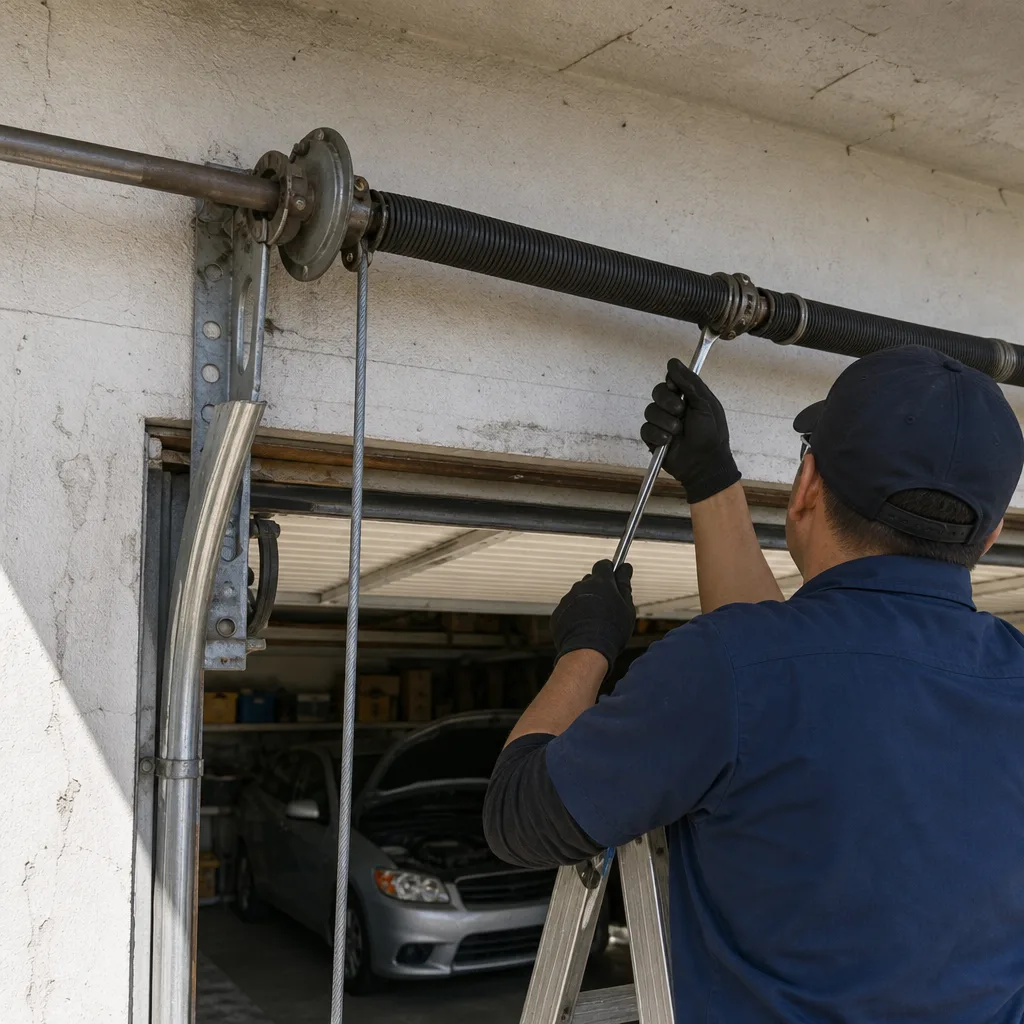
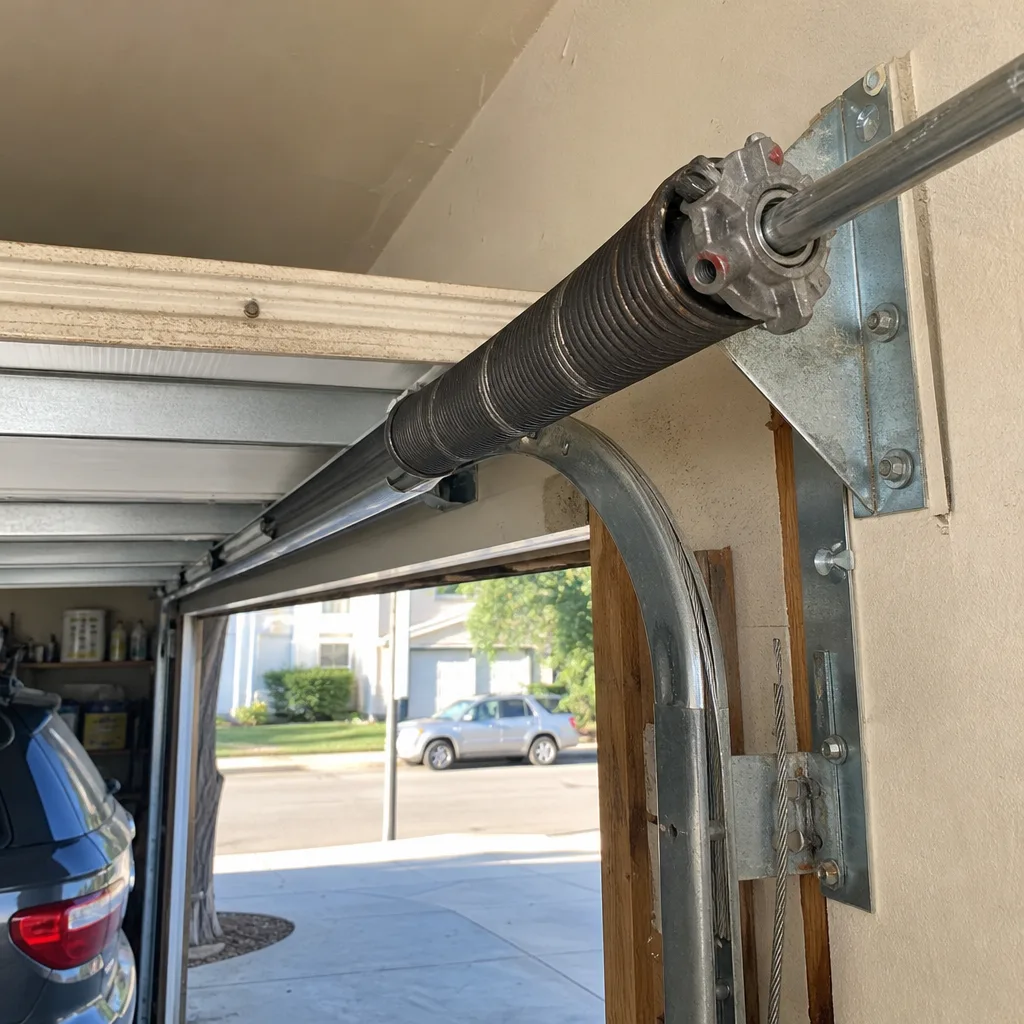
- Gap in the torsion spring above the closed door: a visible break means the spring has snapped. The door will not move by opener, and trying to force it will damage the opener.
- Frayed or fraying cables: look at the cables running along both sides of the door. Any individual wire strands poking out mean the cable is about to fail.
- Loose or dangling cable: if a cable is slack when the door is closed, something inside the cable drum or spring assembly has changed. Do not touch it.
Zone 2: Tracks and Rollers
- Gaps between rollers and tracks: rollers should sit flush inside the track. A visible gap means the roller or track is bent or worn.
- Loose hardware: bolts and brackets that hold the track to the wall can work loose over time, especially with the temperature swings we get in Orange.
- Powdery debris or metal shavings under the track: this is evidence of roller or track wear, and it often explains a slow, jerky door.
Zone 3: Opener and Sensors
- Photo-eye sensors on both sides of the door opening: check that both small sensors have a solid light (not blinking) and are pointed straight at each other.
- Wires hanging or chewed: exposed wiring under the opener or along the track can short out intermittently.
- Gear oil leaking from the opener housing: this is a sign the internal gear is wearing down, especially on older chain-drive LiftMaster and Craftsman units.
This five-minute check doesn’t fix anything, but it tells you which zone holds the problem. When you call a professional, the conversation shifts from “my garage door is broken” to “my roller has visible wear and the track is loose on the left side,” which lets us bring the right parts on the first trip. If you’re in Orange and need help identifying what you’re looking at, call Citadel Garage Door Repair and describe what you see. We have experience with systems from all eight major brands we service.
Door Won’t Move at All: Common Causes and Fixes
A garage door that won’t budge when you hit the wall button or remote is the most alarming symptom, but it’s often the easiest to diagnose. The cause is nearly always one of five things: no power, locked door, disengaged carriage, broken spring, or failed opener gear. Here’s how to tell them apart.
No power. Check that the opener is plugged in and the outlet works. Plug a lamp or phone charger into the same outlet. In Orange, power surges from summer grid stress or the occasional storm can trip the GFCI outlet that many openers are plugged into. Reset it and try again.
Locked door. Many wall control panels have a lock button that disables remote operation. If the wall button works but the remote doesn’t, the lock feature is on. Hold the lock button for a few seconds to unlock.
Disengaged carriage. If the opener motor runs but the door doesn’t move, the carriage may be disconnected from the chain or belt. Re-engage it by pressing the wall button once; the carriage should reconnect on the next cycle. If it keeps disconnecting, the carriage assembly or rail alignment needs attention.
Broken torsion spring. If you can lift the door a few inches by hand but it feels heavy as a car, and you hear a loud bang, the torsion spring above the door has broken. The opener will not lift this door, and continuing to try will burn out the opener motor. This is a professional repair, and in our Orange service area, it’s one of the most common calls we get.
Failed opener gear. If the motor hums but the chain or belt doesn’t move, the internal gear (usually nylon) has stripped. This is common on older LiftMaster and Craftsman openers after 10-15 years of use. The fix is a gear replacement or, more often, an opener replacement. Garage Door Opener Repair in Orange covers this kind of work, and we diagnose the difference between a gear failure and a spring failure in one visit.
Door Moves Then Reverses: Sensor and Limit Issues
This is the most common service call in Orange, and the most commonly misdiagnosed by homeowners. The door starts to close, travels 6 to 12 inches, then reverses back to open. Sometimes it flashes its lights. Sometimes it does it every time; sometimes it’s intermittent, which drives people crazy. Here’s what’s actually happening.
The opener has two safety systems designed to reverse the door if something is wrong: the photo-eye sensors at the bottom of the track, and the force-sensing circuit in the motor. When either system trips, the door reverses. The challenge is figuring out which one.
Photo-eye sensor issues. The sensors sit about 6 inches off the floor on both sides of the door opening. They shoot an invisible infrared beam across the opening. If that beam is broken by an object, a misalignment, or dirt on the lens, the opener refuses to close. Fixing this is usually simple:
- Check for obstacles: a broom, a trash can, a coiled garden hose, or even a leaf can block the beam.
- Clean both sensor lenses with a dry cloth. Dust and spider webs are common in Orange garages.
- Check the sensor lights. Both should glow steadily. One blinking means misalignment. Loosen the wing nut on the sensor bracket and adjust until both lights are solid.
- Check the wiring: if a sensor light is out entirely, the wire may have pulled loose or been damaged.
Force-sensing issues. If the sensors are clean and aligned but the door still reverses, the opener’s closing force may be set too low, or the door has developed resistance that the opener interprets as an obstruction. This is common in winter when cold makes rollers stiffer, and in Orange’s summer heat when metal tracks expand. Adjusting force settings is possible on most openers, but it’s also a two-minute job that a technician can do safely. If the door reverses only sometimes, and the sensors check out, this is probably the cause.
Door Moves Slowly or Jerkily: Track, Roller, and Opener Problems
A door that opens but chugs, hesitates, or makes a grinding sound is telling you the system is working against excess friction. The opener motor is being asked to push harder than it should, and it’s telling you. The cause is usually in the tracks, rollers, or the opener’s drive mechanism, and the fix depends on which one.
Track and roller wear. Nylon rollers wear down over time. When they do, the door rides unevenly in the track, which creates friction and lateral pressure. You’ll often hear a rumble or feel the door shake as it moves. The fix is roller replacement, and it’s an inexpensive repair that dramatically smooths out door movement. Steel rollers on older Wayne Dalton doors are especially prone to flat-spotting after years of use.
Track misalignment. Track brackets can loosen over time, especially with the constant temperature expansion and contraction we get in Orange. A track that’s shifted even a quarter-inch out of parallel will cause the door to bind. Fixing this means loosening the brackets, re-aligning the track, and re-tightening. It’s a precision job that’s harder than it looks, and a misaligned track under spring tension can be dangerous.
Opener drive problems. On chain-drive openers, a loose chain causes jerky movement. On belt-drive openers, a worn belt can slip. On screw-drive Genies, dried-out lubricant on the screw creates exactly this binding behavior. Lubricating the screw with white lithium grease often restores smooth operation. If the problem persists, the opener may be nearing the end of its service life. A full Garage Door Installation in Orange may be the better long-term solution than repairing a failing unit.
Noise But No Movement: Opener Gears, Couplers, and Disconnect Switches
You press the remote. You hear the motor run. The door doesn’t move. This is a specific failure pattern that points directly at the connection between the opener motor and the door, and it’s rarely a door problem at all.
Stripped gear. Most openers made since the 1990s use a sacrificial nylon gear inside the motor housing. The gear is designed to strip before the motor burns out under excessive load. When it strips, you hear the motor spinning but the chain or belt doesn’t move. This is common on older LiftMaster and Craftsman units, and the repair is a gear replacement kit that takes a technician about 30 minutes. If the opener is past 12-15 years old, opener replacement often makes better financial sense.
Broken coupler. On screw-drive Genie openers, a metal coupler connects the motor to the screw. When it shears, the motor spins freely and the door won’t move. The repair is a coupler replacement, and it’s a straightforward fix for a technician who knows Genie systems.
Disconnect switch stuck. Remember the manual release cord from earlier? If the disconnect lever is stuck partway between engaged and disengaged, the motor runs but the carriage doesn’t move. Pull the release cord firmly and press the wall button to re-engage. If the problem recurs, the carriage or rail needs service.
Any of these three failures presents the same symptom but requires a different fix. That’s the value of diagnostics. One call covers the door and the opener, which is the core of how we work at Garage Door Repair in Orange. Rather than guessing, we identify the problem before we quote the solution.
Symptoms That Demand Immediate Attention: Springs and Cables Under Tension
Some garage door problems are inconvenient. Others are dangerous. Here’s how to tell the difference, because your safety and the safety of anyone using your garage depends on it.
Broken torsion spring. The torsion spring above your door is wound under extreme tension, typically 100-150 pounds of force. When it breaks, it releases that force instantly with a sound like a gunshot. The door then becomes dead weight: 150-300 pounds that the opener cannot lift safely. Attempting to raise a door with a broken spring is dangerous. Replacing a torsion spring is one of the most dangerous DIY repairs in home ownership, and it should only be done by a trained professional with the correct winding tools.
Frayed or broken cables. The cables along both sides of the door work with the springs to lift and lower the door. A frayed cable can snap under load, causing the door to drop unevenly or fall. If you see individual wire strands breaking on any cable, stop using the door and call a professional. The repair must be done with the spring tension released, which requires specialized tools and training.
Door off its track. A door that has jumped its track, or a roller that has popped out of the track, creates unpredictable forces on the remaining intact components. Continuing to operate the door can cause further damage and create a risk of the door falling. Stop using the door and get a professional assessment.
These symptoms are the ones where we tell homeowners in Orange the same thing every time: do not attempt this repair yourself. The cost of a professional repair is a fraction of the cost of an emergency room visit, and the risk is real. Your garage door is your home’s largest security barrier. Treat a failure in its load-bearing components with the same seriousness you’d treat a structural problem.
Common Mistakes to Avoid
- Resetting the opener before checking the door manually. We covered this at the top, but it bears repeating. Pull the release cord and test the door by hand before you touch any electronics. A five-minute manual test tells you more than an hour of opener troubleshooting.
- Ignoring a reversing door. A door that reverses intermittently is not fixing itself. It’s usually a sensor or force-setting issue that will get worse, and eventually the door will refuse to close at all. Fix it while it’s still a small problem.
- Lubricating a door with WD-40. WD-40 is a solvent, not a lubricant. It dissolves the existing grease and leaves metal parts dry. Use white lithium grease on metal rollers and hinges, and silicone spray on nylon parts.
- Tightening spring hardware without releasing tension. The bolts that hold the torsion spring center bracket can loosen over time. Attempting to tighten them while the spring is wound is extremely dangerous. This is a professional-only repair.
- Replacing the opener when the door is the problem. If the door is heavy, out of balance, or bound in its tracks, a new opener will struggle just like the old one. Diagnose the door first, then the opener.
- Using the door while a cable is frayed. A frayed cable can fail at any moment, and when it does, the door can drop suddenly. Stop using the door the moment you see broken wire strands.
- Assuming all brands behave the same. A Genie screw-drive opener fails differently than a Chamberlain belt-drive. The blink codes differ, the weak points differ, and the fixes differ. Working with a brand-agnostic specialist means the diagnosis considers your specific system, not a generic checklist.
When to Call a Professional
Here’s the straightforward rule we tell homeowners in Orange: if the problem involves springs, cables, or a door off its track, call a professional. These components are under enough tension to cause serious injury, and the repairs require tools and training most homeowners don’t have. If the problem is in the opener’s internal electronics or drive mechanism, you can tackle basic sensor alignment and force adjustments yourself, but a stripped gear or failed logic board is a technician’s job.
The other case for calling a professional is when you’ve spent more than an hour diagnosing with no clear answer. That’s not a failure on your part; it’s the point where specialized knowledge pays for itself. We identify the problem before we quote the solution, and we work on what you already have, whether it’s a LiftMaster, Genie, Wayne Dalton, or any other major brand. Citadel Garage Door Repair offers free estimates in Orange. Call (844) 320-8271 for service or a diagnostic visit.
Frequently Asked Questions
The motor is running but the door isn’t moving because the connection between the opener and the door has failed, usually due to a stripped drive gear, a broken coupler, or a carriage that’s disengaged from the rail. Pull the manual release cord and try to re-engage the carriage. If the motor still spins without moving the door, the internal gear or coupler needs replacement. Call (844) 320-8271 if you’re in Orange and need a diagnostic visit.
Garage door spring replacement in Orange typically costs between $200 and $350 for a standard torsion spring replacement, including parts and labor. The exact price depends on the spring size, door weight, and whether one or both springs need replacement. We quote the full price before any work starts, so you’ll never see a surprise on the invoice. For an exact quote, call (844) 320-8271.
In most cases, yes. We keep repair trucks stocked with parts for LiftMaster, Chamberlain, Genie, Craftsman, Raynor, Clopay, Amarr, and Wayne Dalton systems, which means most repairs in the Orange area are completed same-day. Call (844) 320-8271 for a free estimate and scheduling.
Ten blinks on a LiftMaster or Chamberlain opener means the safety reversing sensor is blocked or misaligned. Clean the sensor lenses, check for obstructions in the beam path, and align the sensors until both lights glow steadily. If the blinking continues, the sensor wiring or logic board may need professional attention.
No. A door with a broken torsion spring is dead weight, and the opener may not lift it or may drop it suddenly. The spring is also under enough tension to cause serious injury if handled incorrectly. Do not use the door, and do not attempt to replace the spring yourself. Call a professional for this repair.
Intermittent operation usually traces to one of three causes: photo-eye sensors that are slightly misaligned or dirty, force settings that are set too low, or a remote with a weakening battery. Clean and align the sensors first, then replace the remote battery. If the problem persists, the opener’s force sensing circuit or logic board may need service. The price is quoted and agreed before any work starts.
The Bottom Line
Garage door troubleshooting isn’t about memorizing component names. It’s about reading behavior. The door tells you what’s wrong through what it does: whether it refuses to move, reverses partway, moves slowly, or makes noise without movement. Each behavior points to a different fix, and the fastest way to misdiagnose is to reset the opener when the door itself is the problem. Pull the release cord, do the visual inspection, read the blink codes, and you’ll know more than most people ever learn about their garage door system. When the problem is beyond safe DIY, which is anything involving springs or cables, call a professional who works on what you already have. Citadel Garage Door Repair serves Orange and repairs all major opener brands. For a free estimate, call (844) 320-8271.
Written by the team at Citadel Garage Door Repair, serving Orange since 2018.
See the difference
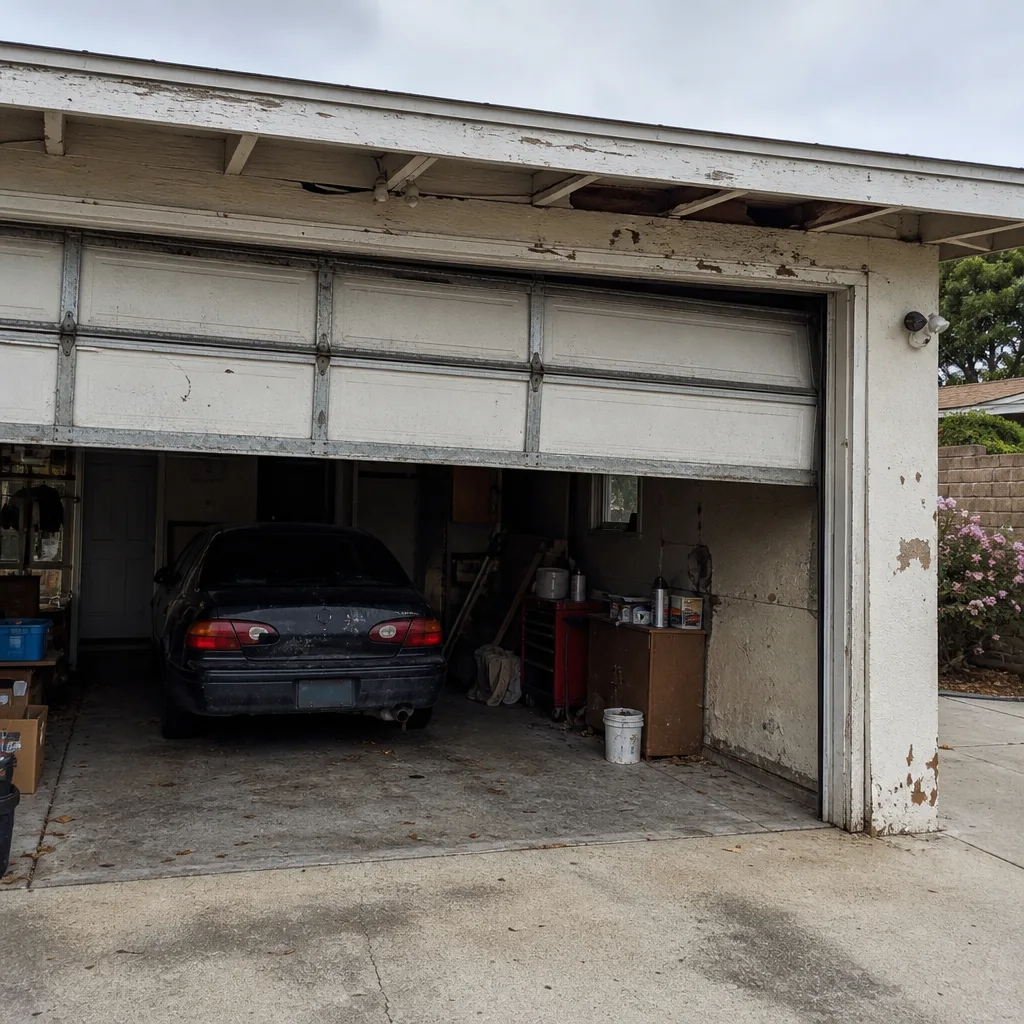 Before
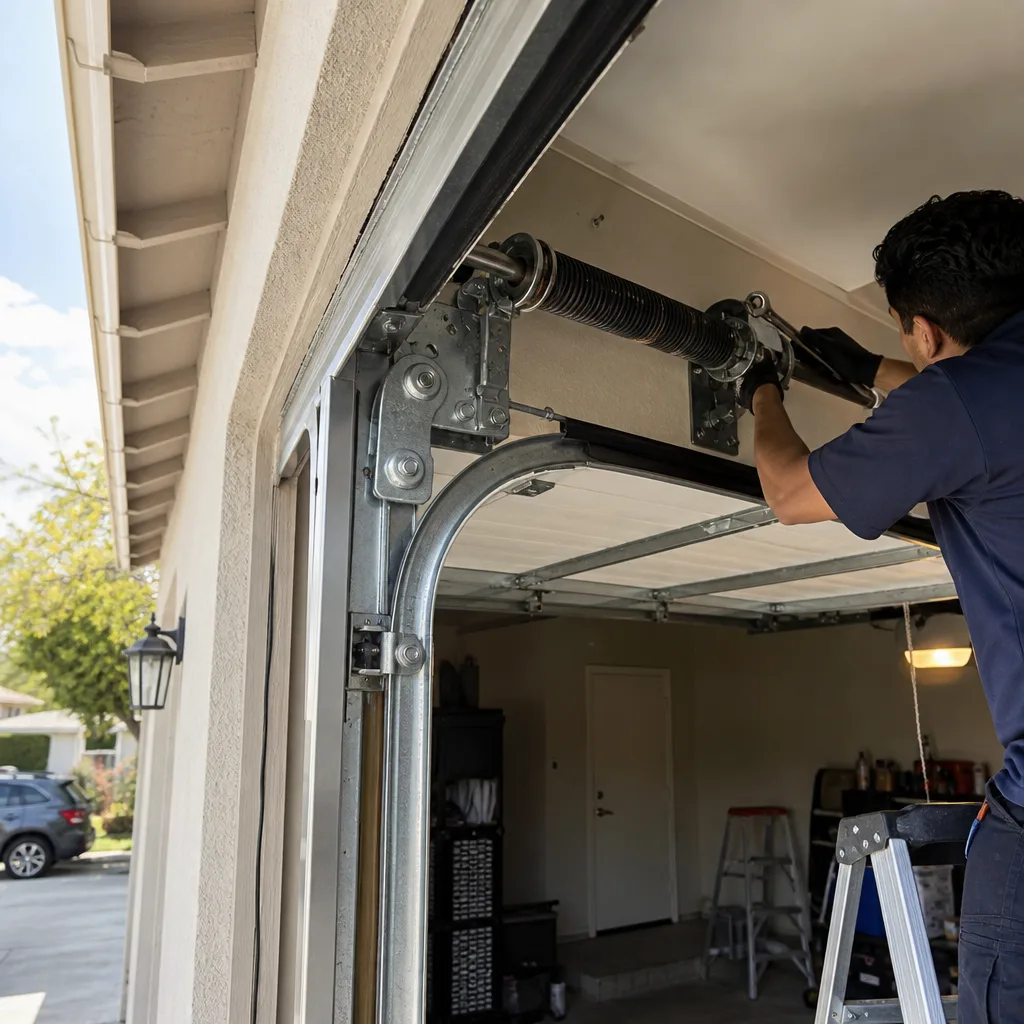 After
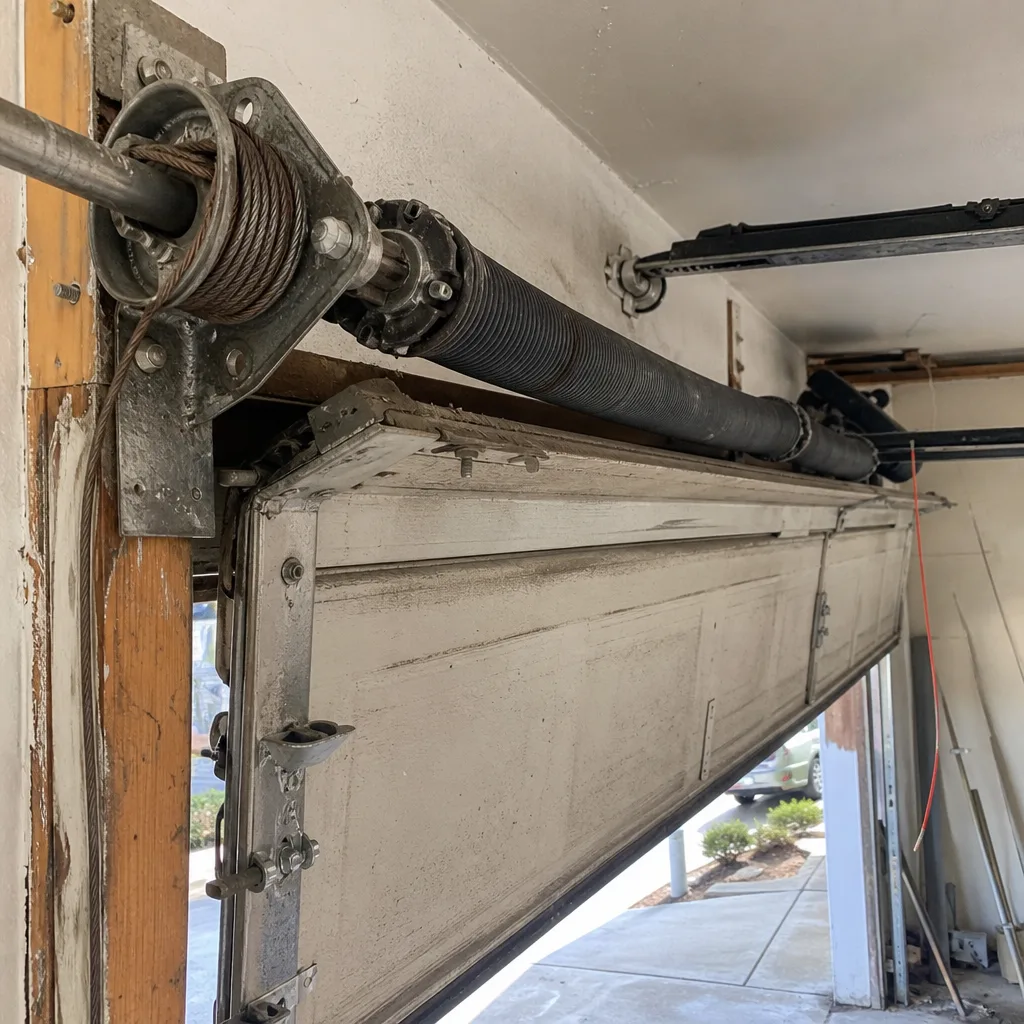 Before
 After
 Before
 After