
Last updated November 2, 2026
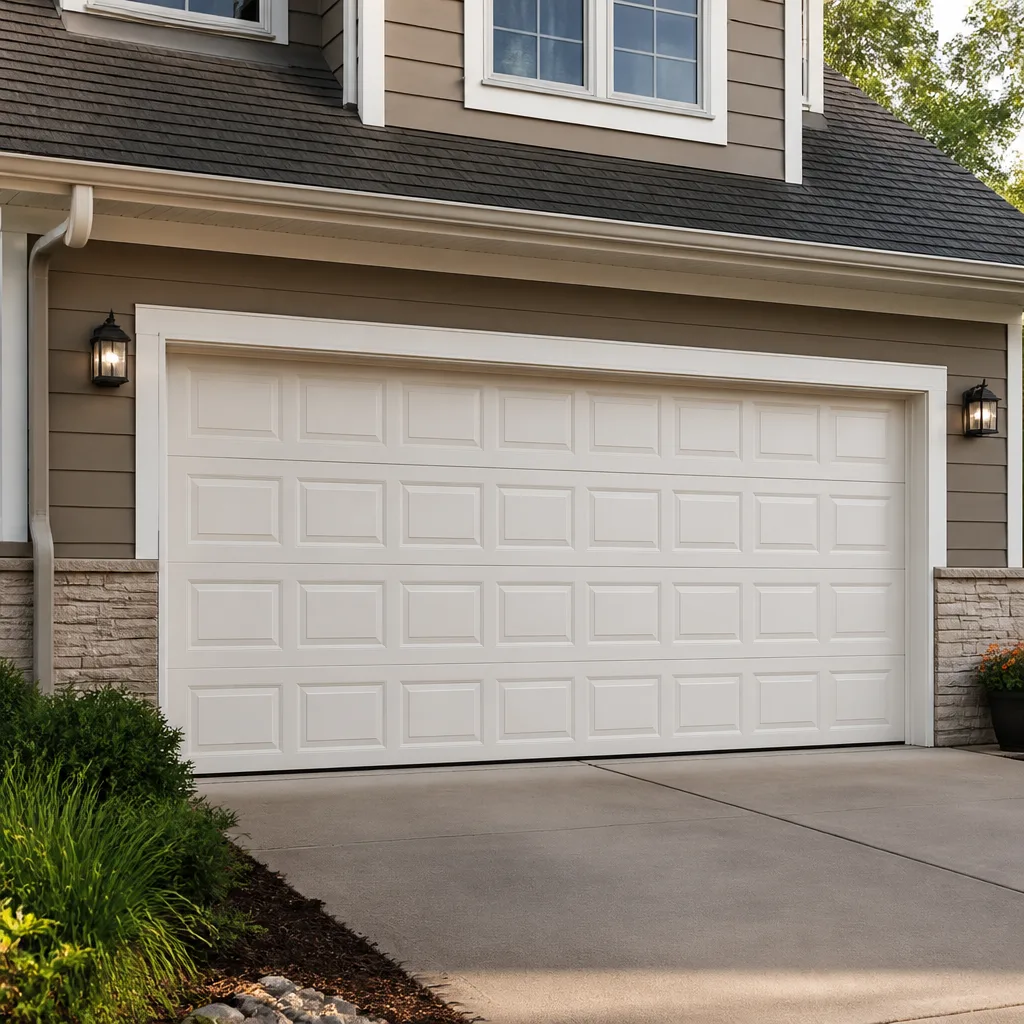 Raised-panel steel
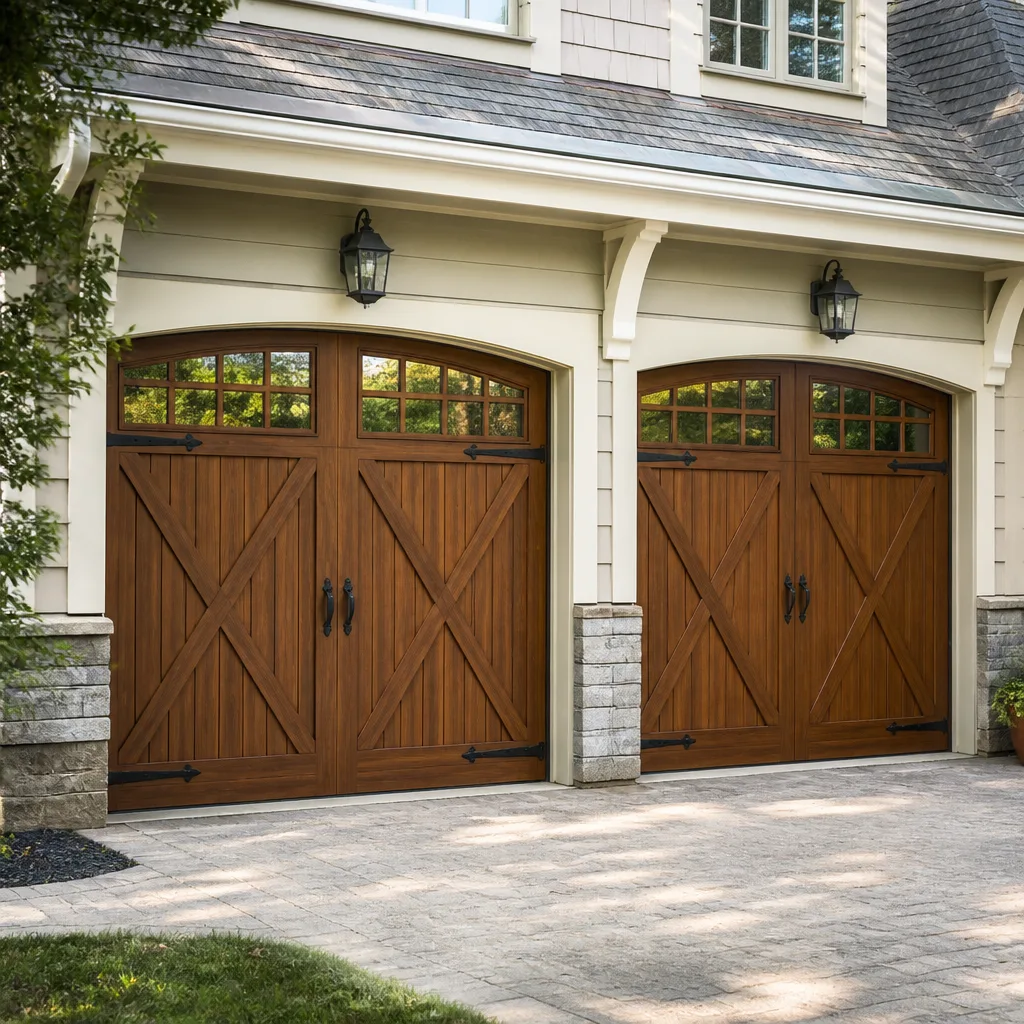 Carriage house
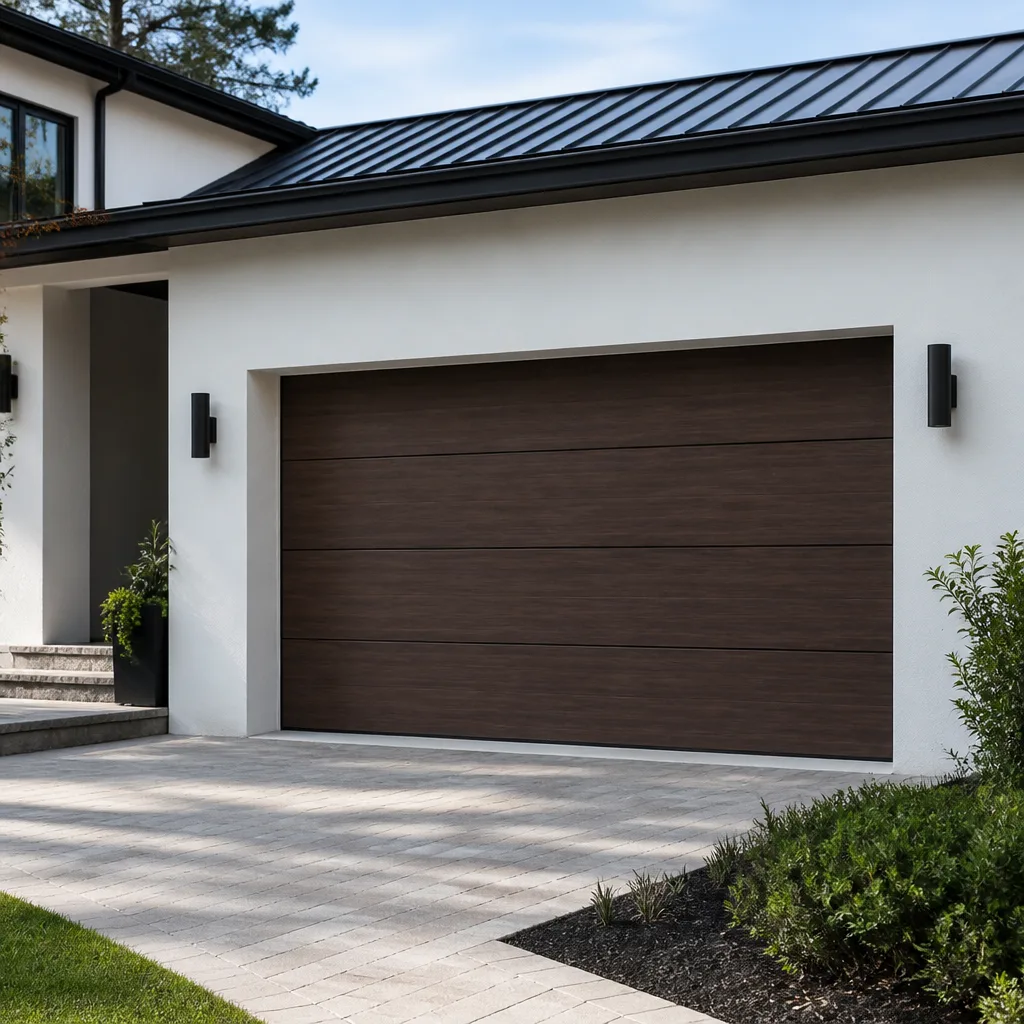 Modern flush
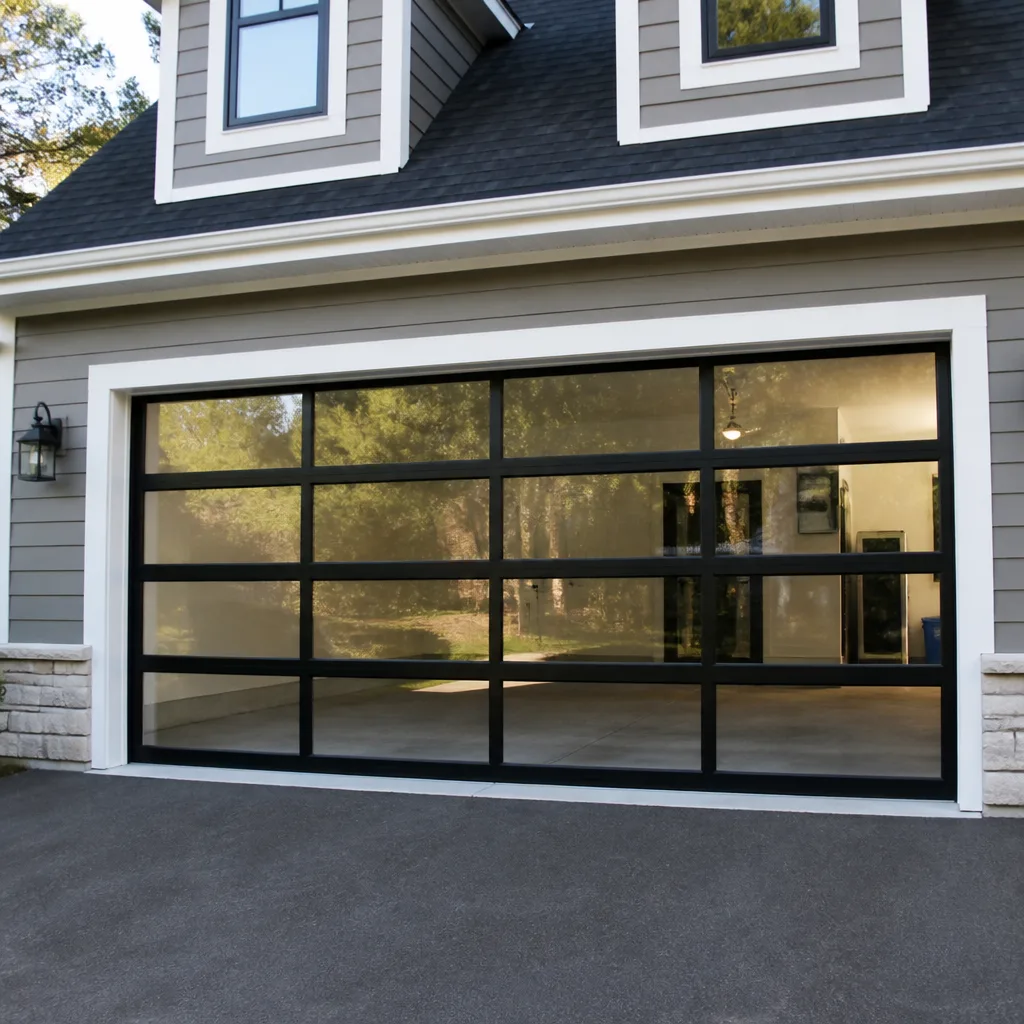 Full-view glass
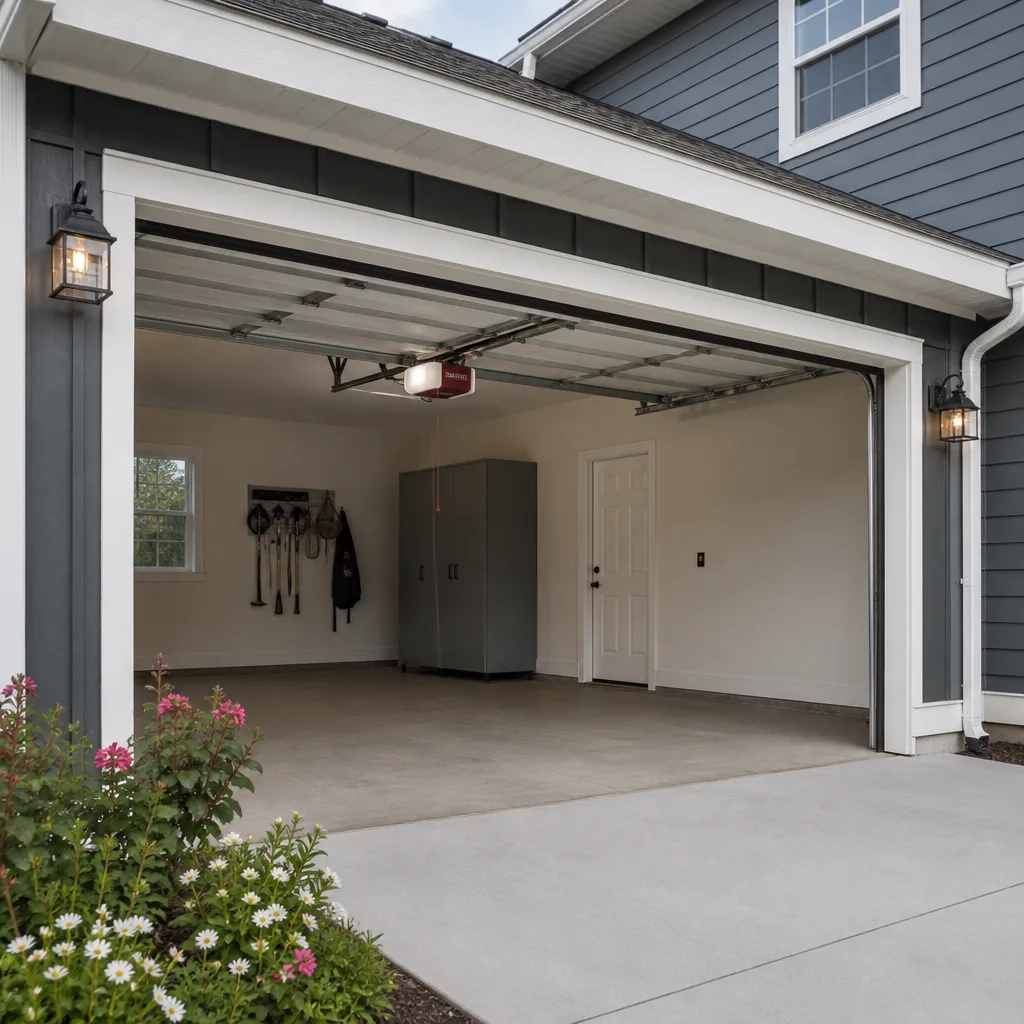 LiftMaster openers
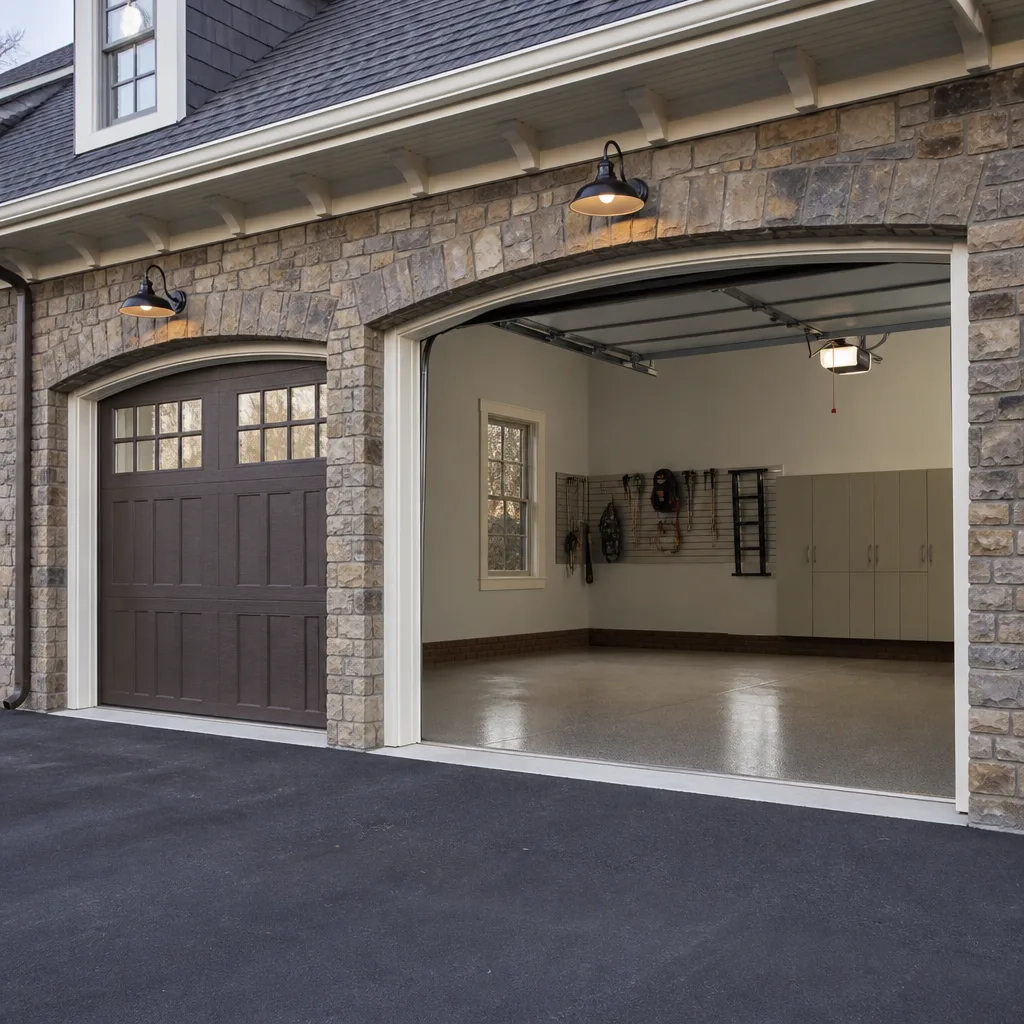 Chamberlain openers
Full 25-point door and opener safety check with every visit - springs, cables, rollers, tracks, and your LiftMaster or Chamberlain opener included
You get a price before we start. It does not change when the truck arrives.
Get your free estimateGarage Door Repair Maintenance Checklist for Orange Homeowners
Most garage door breakdowns in Orange don’t happen suddenly. They happen in a chain reaction. A worn roller adds friction. Extra friction strains the opener motor. The straining motor strips a gear. A stripped gear snaps a cable under uneven tension. The $12 roller that should have been caught in March becomes a $400 opener rebuild in September. This checklist is arranged by the order in which failure actually occurs, so you catch the first domino before it knocks over the rest. We’ll walk through the real wear sequence on Orange doors, what to check when, and which tasks you should genuinely do yourself versus which ones carry spring tension or electrical risk that isn’t worth the hazard.
Quick Answer
A garage door maintenance routine for an Orange garage door should follow a monthly visual and audio check, a quarterly lubrication and hardware tightening pass, and a twice-yearly deep inspection of springs, cables, weatherstripping, and door balance. The three tasks that are safe for homeowners are lubricating hinges and rollers, tightening hardware, and cleaning the tracks. Anything involving torsion spring adjustment, cable replacement, or opener circuit boards should go to Citadel Garage Door Repair home for professional service. UV damage to weatherstripping, clay-soil slab movement, and summer heat cycles on opener motors are the three Orange-specific wear factors that accelerate the failure chain here.
Styles & brands we work with
- Raised-panel steel
- Carriage house
- Modern flush
- Full-view glass
- LiftMaster openers
- Chamberlain openers
Table of Contents
- The Failure Chain: Why Sequence Matters
- The 10-Minute Monthly Check
- Quarterly Maintenance: Lubrication and Hardware
- Seasonal Deep Inspection: Springs, Cables, and Balance
- What You’re Listening For: An Audio Cue Guide
- Orange-Specific Wear Factors
- DIY-Safe vs. Professional-Only Tasks
- Common Mistakes to Avoid
- When to Call a Professional
- Frequently Asked Questions
The Failure Chain: Why Sequence Matters
A garage door system has about 60 moving parts that work together. When one component starts failing, it doesn’t just sit there quietly. It transfers load to the parts around it. In Orange, where many homes have attached garages used as primary entry points, doors cycle open and closed more frequently than the national average. That usage rate matters because it compresses the timeline between “first symptom” and “cascading failure.”
Here’s the sequence we see most often on residential doors in Orange:
- Rollers begin to wear. The bearings inside nylon or steel rollers degrade, creating resistance.
- Hinges take the load. Slop in the hinge pins develops, and the door starts to rack slightly.
- The opener compensates. The motor pulls harder to overcome resistance, which overworks the gear and sprocket assembly.
- Springs fatigue unevenly. Most residential doors have two torsion springs. When one weakens, the other carries disproportionate load, accelerating its wear.
- Something breaks. Usually a spring, sometimes a cable, occasionally the opener gear. The damage bill is now in the hundreds, not tens.
This is why the checklist below is ordered by probability of failure, not by category. Checking the door panel’s paint before checking the roller bearings would be like checking your tires’ tread depth after the engine light has been on for three months. The sequence matters because your maintenance time is limited, and the parts most likely to fail first are the ones most worth your attention.
The 10-Minute Monthly Check
Do this once a month. It requires no tools beyond a flashlight and takes about ten minutes. Most Orange homeowners can fit it into a Saturday morning without rearranging anything.
Step-by-Step Monthly Inspection
- Watch the door open and close one full cycle. Stand inside the garage. Look for hesitation, jerking, or uneven movement between the left and right sides. A door that moves smoothly is doing its job. A door that stutters anywhere in its travel is telling you something.
- Look at the rollers while the door moves. Each roller should spin freely in its track. A roller that slides instead of rolls has a seized bearing. A roller that wobbles has a worn stem. Count how many rollers show these signs. More than two means the roller set is aging past its service life.
- Eyeball the cables on both sides. The lift cables should be taut and straight, with no frayed strands visible. Frayed cables in the Orange climate often start at the bottom bracket, where occasional condensation from coastal air meets steel.
- Check the track alignment. The vertical and horizontal tracks should be parallel and free of dents or bends. A flashlight aimed along the track makes misalignment obvious, as light gets blocked where the track kinks.
- Test the safety reversal. Place a block of wood or a rolled-up towel under the door and close it. The door should reverse within two seconds of contact. If it doesn’t reverse, stop using the opener until it’s repaired. This is not a minor adjustment issue. This is a safety system that protects people and pets.
If everything passes, you’re done for the month. If anything fails, note it and address it before the next monthly check. The goal here is to catch change early, not to complete repairs on the spot.
Quarterly Maintenance: Lubrication and Hardware
Every three months, set aside thirty minutes for the tasks that actually prevent failure. Lubrication is the highest-impact maintenance task on any garage door, but it’s also the most commonly botched. Using the wrong product or applying it to the wrong parts causes more problems than never lubricating at all.
What to Lubricate
- Hinges: Apply garage-door-specific lubricant or white lithium grease to the hinge pivot points. Spray or apply a small amount to each hinge pin, then run the door up and down once to work it in.
- Rollers: Lubricate only the roller bearings, not the wheel surface. If you have nylon rollers, use a silicone-based lubricant. For steel rollers, white lithium grease works. Never lubricate the roller-to-track contact surface. That attracts dust and creates a grinding paste.
- Springs: Torsion springs need a light coating of spray lubricant to reduce friction between coils. Use a garage-door spray lube, not WD-40, which is a solvent and will strip any existing protective coating.
- Opener chain or screw: For chain-drive openers, apply a thin coat of chain lube. For screw-drive models like some older Genie units, use white lithium grease on the screw. Belt-drive LiftMaster and Chamberlain openers need no lubrication on the belt itself.
Hardware Tightening Pass
Garage door hardware loosens over time because the door vibrates every cycle. Twice a year, go around with a socket set and check the bolts on the hinges, the brackets that hold the tracks to the wall, and the bolts on the opener rail. Do not touch the bolts on the torsion spring assembly. Those bolts are under tension and adjusting them without proper training is dangerous.
Here’s the tightening sequence that works best on standard residential doors in Orange:
- Hinge bolts on the door panels: These take the most vibration. Snug them to hand-tight plus a quarter turn. Don’t overtighten into the wood or composite stiles.
- Track brackets on the wall and ceiling: Loose track brackets cause the door to bind. Check every bracket, including the horizontal ceiling-mounted ones.
- Opener mounting bolts: The opener unit shifts slightly with each cycle. Verify the bolts holding the opener to the ceiling brackets are snug.
- Bottom bracket bolts: These hold the lift cables. If they loosen, the cable can slip. Snug them carefully without overtorquing.
The quarterly pass is the single most effective habit for extending door life. It’s where the $80 problems get caught before they become the $800 ones.
Seasonal Deep Inspection: Springs, Cables, and Balance
Twice a year, spring and fall, do a deeper inspection that focuses on the parts most homeowners never look at. This is where you catch the problems that are invisible during normal use but catastrophic when they fail.
Spring Inspection (Torsion Springs)
Look at the torsion spring mounted above the door opening. If you see a visible gap in the coil, the spring has broken. That’s an obvious failure. What’s less obvious is early fatigue. Look for uneven spacing between coils, rust deposits, or a spring that appears to be sagging. Any of these signs means the spring is nearing end of life. Torsion springs in Orange typically last 8 to 12 years with normal use, but doors used as primary entry points cycle more and wear springs faster.
Do not attempt to adjust, replace, or remove a torsion spring yourself. These springs store enough energy to cause serious injury or death if released improperly. A professional with proper winding bars and training is the only safe option. Our Garage Door Repair team handles spring replacement across all major brands, including Raynor, LiftMaster, and Chamberlain configurations.
Cable Inspection
Inspect both lift cables along their full length. Run your fingers lightly along the cable with the door closed, feeling for broken strands or flat spots. Look closely at the cable where it wraps around the bottom bracket and the drum at the top. These are the two failure points. In Orange, salt air from the coast accelerates cable corrosion on homes west of the 55 freeway, and we regularly see cables that look fine except for hidden corrosion at the drum connection.
Balance Test
Disconnect the opener using the red emergency release handle. With the door closed, manually lift it to waist height. A balanced door stays put. If it falls, the springs are weak. If it shoots upward, the springs are over-tensioned. Either way, the springs need professional attention. Run this test twice a year. It’s the single most revealing diagnostic on a garage door, and it takes under a minute.
For homeowners planning a replacement rather than another repair cycle, Garage Door Installation in Orange covers the full scope of options when the door has passed the point of economical repair.
What You’re Listening For: An Audio Cue Guide
Most Orange homeowners notice sounds before they notice visual wear. You hear the garage door every time it opens, but you stop hearing it because it becomes background noise. Here’s what to listen for on the next cycle:
- Squeaking or squealing: This is the sound of metal-on-metal friction. Usually a hinge or roller bearing has lost lubrication. The fix is lubrication, but if the squeak persists after lubricating, the roller bearing has failed and needs replacement.
- Grinding: A grinding sound from the opener motor usually means the main gear is stripping. This is common on older LiftMaster and Chamberlain chain-drive units. The gear is a plastic sacrificial component designed to fail before the motor. It’s a $100 to $200 repair versus a $400 opener replacement, but only if caught early.
- Rattling: Loose hardware. Go through the quarterly tightening pass until the rattle disappears. If it doesn’t, the rattle is likely a worn roller or hinge pin.
- Thumping or banging during travel: The door is hitting something, or the panels are binding. Check track alignment first, then roller condition.
- Popping: A single loud pop during operation is often a cable jumping on the drum. This is a professional-repair situation. Continued use after a cable jump can cause the door to come off its tracks.
- A humming opener that doesn’t move the door: The motor runs but nothing happens. Usually the gear is completely stripped or the chain has jumped off the sprocket. Disconnect the opener and call for repair.
Audio is the earliest warning system a garage door has. If you’re hearing something new, don’t wait for the visual confirmation. By the time you see it, the failure chain is further along. For a deeper walkthrough, see our Garage Door Repair Troubleshooting: Common Problems and How to Fix Them.
Orange-Specific Wear Factors
Garage door maintenance advice that works in Minnesota does not transfer cleanly to Orange. Our climate, soil, and usage patterns create a distinct wear profile that generic checklists miss.
UV Degradation on Weatherstripping
Orange gets roughly 280 sunny days per year. That sun beats down on the bottom rubber weatherstrip and the vinyl trim around the door opening. UV radiation breaks down the plasticizers in vinyl and rubber, causing them to crack, shrink, and lose their seal. This happens faster on south-facing and west-facing garage doors. Check the bottom seal every quarter by looking for daylight under the closed door. Replace weatherstripping when it’s cracked or when you can slide a pencil under any section. A failed seal lets leaves, dust, water, and pests into the garage, and it increases the thermal load on any living space above.
Clay Soil and Slab Movement
Much of Orange sits on expansive clay soil. This soil expands when wet and contracts during dry periods, which causes concrete slabs to shift over time. Garage slabs are especially susceptible because they’re poured at ground level with less structural reinforcement than the main foundation. When the slab shifts, the door may no longer sit flush against the ground on one side, or the tracks may subtly move out of alignment. If you notice the door closing with a different gap on the left versus the right, or if the weatherstrip is compressed on one end and loose on the other, slab movement is a likely contributor. Track realignment by a professional is usually the fix. This is a recurring issue for homeowners in older Orange neighborhoods where slab foundations date back decades.
Summer Heat Cycles on Opener Motors
Orange summers routinely push temperatures into the 90s, and attached garages run 10 to 15 degrees hotter than outside air. An opener motor operating in a 105-degree garage runs hotter than its design specification. Over repeated summer heat cycles, the motor’s thermal protection switch wears, which is why many Orange homeowners experience opener failures in August and September, not in the cooler months. If your opener has a thermal cutoff, give it a break during the hottest part of the day. If it trips, don’t immediately reset it and keep running the door. That reset-repeat cycle is what kills the motor. Let it cool for 30 minutes, then run the door once and let it rest. For persistent overheating issues on Genie or Chamberlain units, Garage Door Opener Repair in Orange is the page to review for repair scope and options.
These three factors mean an Orange garage door requires maintenance at shorter intervals than a door in a milder climate. The monthly check and quarterly lubrication pass are not optional here. They’re the minimum. For additional guidance, check our Garage Door Warning Signs: An Orange Homeowner’s Reference Guide.
DIY-Safe vs. Professional-Only Tasks
Most maintenance checklists blur the line between what a homeowner can safely do and what requires training. That blur creates two problems: homeowners skip safe tasks out of caution, and worse, they attempt dangerous tasks out of confidence. Here’s the clear split.
DIY-Safe Tasks
- Lubricating hinges, rollers, and springs: This is safe and straightforward. You’re applying lubricant to accessible, low-tension components. Use the right product, don’t touch anything under tension, and you’re done.
- Tightening hardware: A socket set and fifteen minutes handles it. Stay away from the spring assembly bolts, but everything else is fair game.
- Cleaning the tracks: A damp cloth will remove dust and debris from the track interior. Do not use grease or lubricant in the tracks. The rollers need friction to roll properly; a greased track makes them slide instead.
- Replacing weatherstripping: The bottom seal slides out and the new one slides in. This is a ten-minute job that costs under $20 in materials and makes an immediate difference in garage cleanliness.
Professional-Only Tasks
- Adjusting, replacing, or removing torsion springs: The stored energy in a wound torsion spring is enough to shatter bone or kill. Specialized winding bars and experience are non-negotiable. This is the number one cause of serious garage-door-related injuries among DIYers.
- Replacing lift cables: Cables are under tension when the door is in almost every position. The safe sequence involves releasing tension in a specific order while bracing the door. Getting the sequence wrong can cause the door to crash down.
- Opener electrical or logic board work: The opener combines a capacitor that can hold a charge even when unplugged with a logic board that’s sensitive to static. A wrong touch can turn a fixable opener into a dead one.
- Track modification or replacement: Track alignment affects door balance, which affects spring load, which affects cable tension. Everything is interconnected. Bending track sections by hand throws the whole system out of spec.
- Any job that requires the door to be braced open while you work underneath it: A door held by a single clamp or ladder is a door that can fall. Professionals brace doors with multiple redundant supports.
We work on what you already have, across all major brands including LiftMaster, Chamberlain, Genie, and Raynor. The diagnostic step is always free of charge in the sense that we identify the problem before we quote the solution. If you’re uncertain whether a task is safe, the safest diagnostic is a phone call.
Common Mistakes to Avoid
- Using WD-40 on moving parts: WD-40 is a water displacement solvent, not a lubricant. It strips existing grease, leaves a thin film that evaporates, and leaves the metal drier than before. Use a garage-door-specific spray lubricant or white lithium grease instead.
- Lubricating the tracks: Track lubrication creates a slick surface that prevents rollers from rolling. Rollers are designed to roll on dry, clean track surfaces. Greasy tracks mean sliding, which flat-spots the rollers and creates buildup that binds the door in Orange’s dusty summers.
- Ignoring a new sound for more than a week: Sounds are the first symptom of almost every garage door failure. A week of ignoring a squeak gives a dry bearing seven more days to seize, which then takes out the hinge, which then racks the panel. The repair escalates in cost at each stage.
- Running the door with a broken spring: A door with one broken spring is operating at 50% spring capacity. The opener is lifting the slack. Every cycle with a broken spring overworks the opener and risks snapping the remaining spring under doubled load. Stop using the door and call for repair.
- Adjusting the travel limits on the opener to “fix” a different problem: When a door starts closing unevenly or reversing for no reason, some homeowners adjust the opener settings as a workaround. That adjusts the symptom, not the cause. The cause is usually a balance issue or a failing sensor. The workaround masks it while the underlying problem continues to develop.
- Skipping the safety reversal test because it’s “working fine”: The safety reversal system is what stops a closing door from injuring children, pets, or adults. Photoelectric sensors fail gradually: they get dirty, misaligned, or sun-faded. Test the system monthly. Thirty seconds of testing protects everything under that door.
When to Call a Professional
A broken spring, a snapped cable, an opener that hums without moving, or a door that’s come off its tracks are all stop-using-the-door situations that require trained service. If you hear a loud bang from the garage, that’s a spring failure. If the door only opens halfway and then stops, the issue could be a spring, a cable, or an opener gear. If the door reverses unexpectedly during a close cycle, the sensor may be failing or the door may be binding. None of these resolve themselves with time. Citadel Garage Door Repair offers free estimates in Orange, and our technicians are trained to diagnose the whole system, not just the most obvious symptom. Call (844) 320-8271 when the problem is beyond routine maintenance or when you want a professional assessment of what a sound actually means.
Frequently Asked Questions
Every three months, or roughly four times a year. The manufacturer recommendations of once a year assume light usage and mild climates. Orange doors that serve as primary entry points cycle enough to dry out lubricant in about 90 days. If you hear squeaking before the three-month mark, lubricate then.
For most spring, cable, and roller repairs in Orange, yes. Our trucks carry the common spring sizes, roller sets, cables, and opener gears for the major brands, so many repairs are completed in a single visit. Call (844) 320-8271 and we can tell you whether the likely repair is something we’ll have on the truck that day.
No. The price is quoted and agreed upfront, before any work starts. The diagnostic process identifies the problem, we explain what needs to be done, and we give you a fixed number. If we find something unexpected, we stop and discuss it with you before proceeding. The quote you approve is the price you pay.
Our technicians are factory-familiar with LiftMaster, Chamberlain, Genie, Clopay, Amarr, Wayne Dalton, Craftsman, and Raynor. We service what’s already installed in your garage. You don’t need to know your exact model before calling. We identify the system on arrival and diagnose from there.
Standard torsion springs are rated for 10,000 cycles, which translates to roughly 8 to 12 years for a typical Orange homeowner who opens the door twice daily. If your door cycles more often, such as in a household with multiple drivers coming and going throughout the day, the lifespan compresses proportionally. High-cycle springs rated for 20,000 or 30,000 cycles are available and cost more upfront, but they make sense for heavy-use doors.
Probably not every year, but check it every quarter. In Orange’s UV-heavy climate, bottom seals degrade faster than they do in coastal or northern environments. A south-facing door may need weatherstripping replacement every 12 to 18 months. A north-facing door may get two to three years. The test is simple: if you see daylight under the closed door or the rubber feels brittle when flexed, replace it.
The Bottom Line
A garage door maintenance routine in Orange is not about following a long list of arbitrary tasks. It’s about understanding the order in which parts fail and catching them before the failure cascades. The monthly check catches visible wear and audio changes. The quarterly pass keeps lubrication and hardware within tolerance. The seasonal inspection catches spring and cable fatigue before a break. The three Orange-specific factors, UV on seals, clay-soil slab shift, and summer motor heat, are the accelerants that make these intervals matter. One call covers the door and the opener, and the diagnostic is always honest about what needs to be done now versus what can wait. Address the maintenance in sequence, and your garage door will outlast most others in the neighborhood. Explore our more guides & resources to keep your system running smoothly.
Written by the team at Citadel Garage Door Repair, serving Orange since 2018.
See the difference
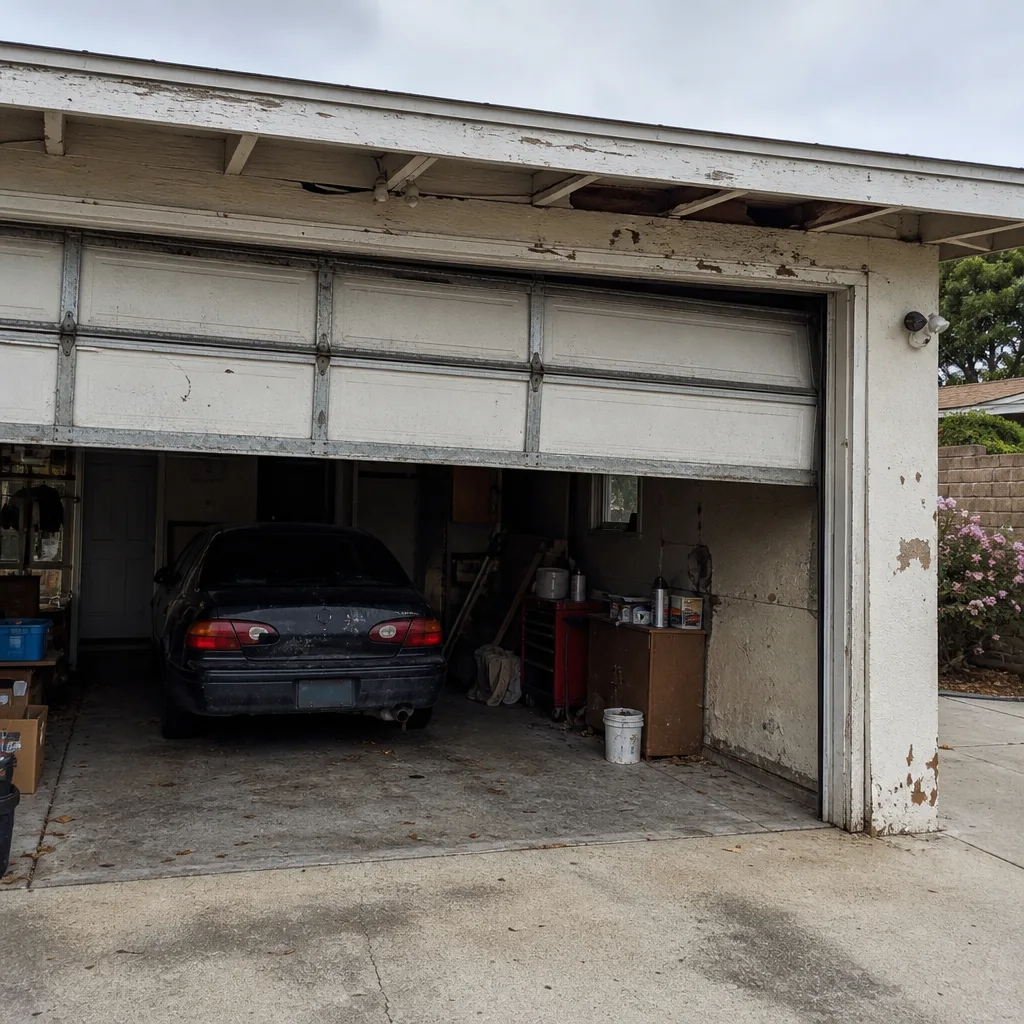 Before
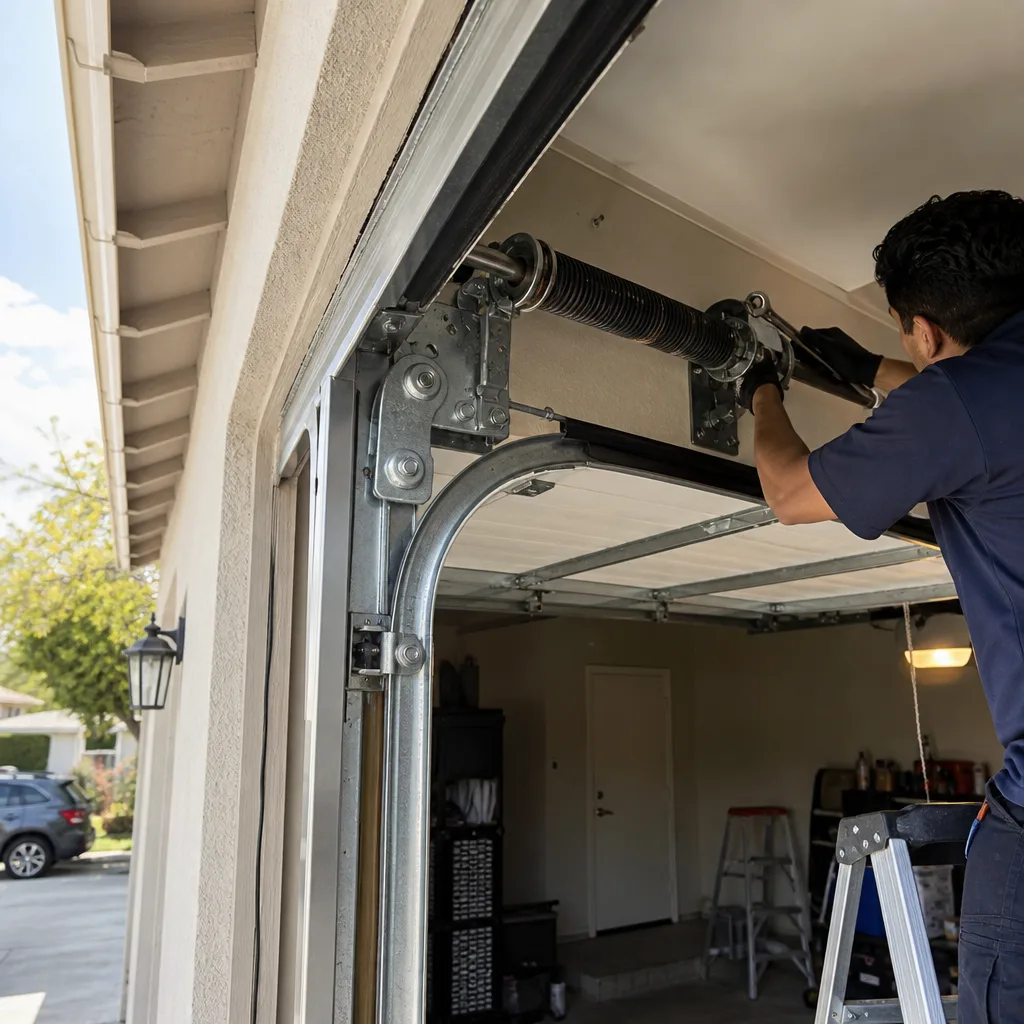 After
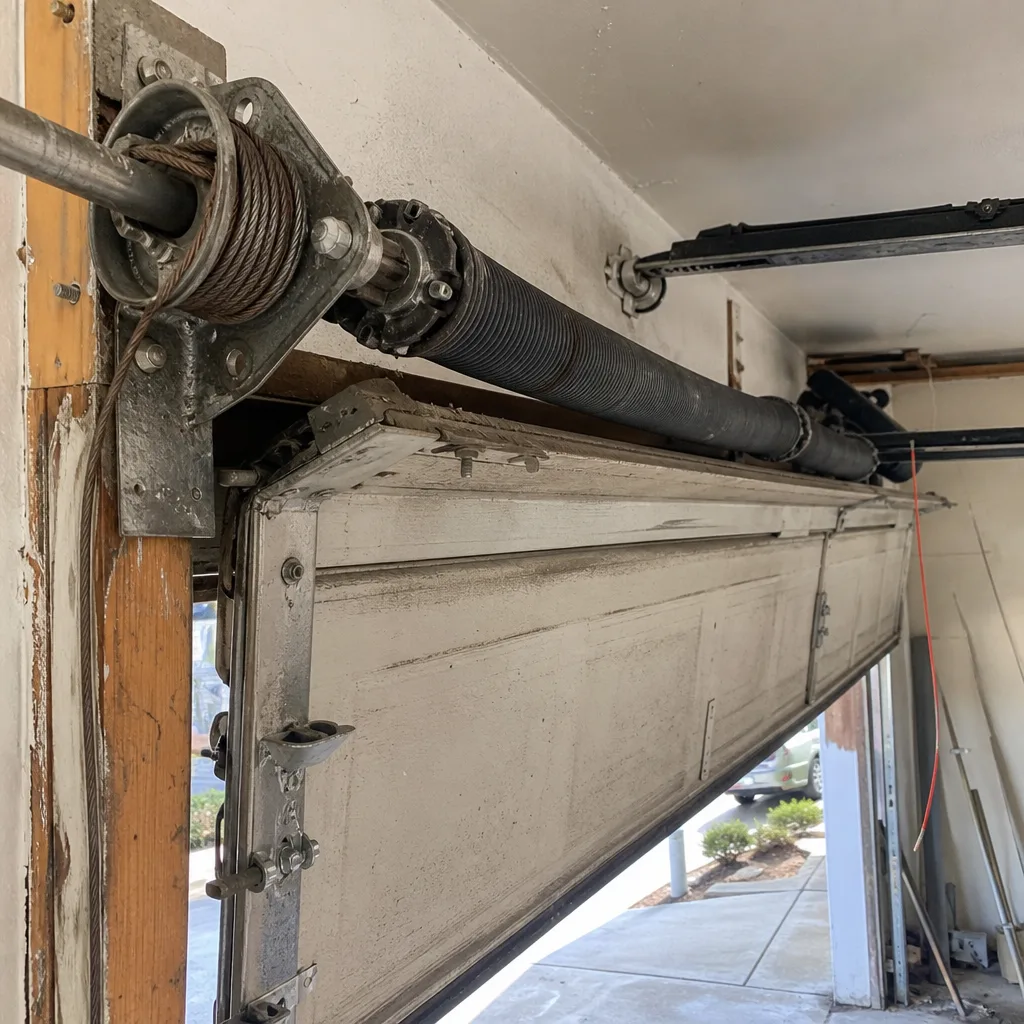 Before
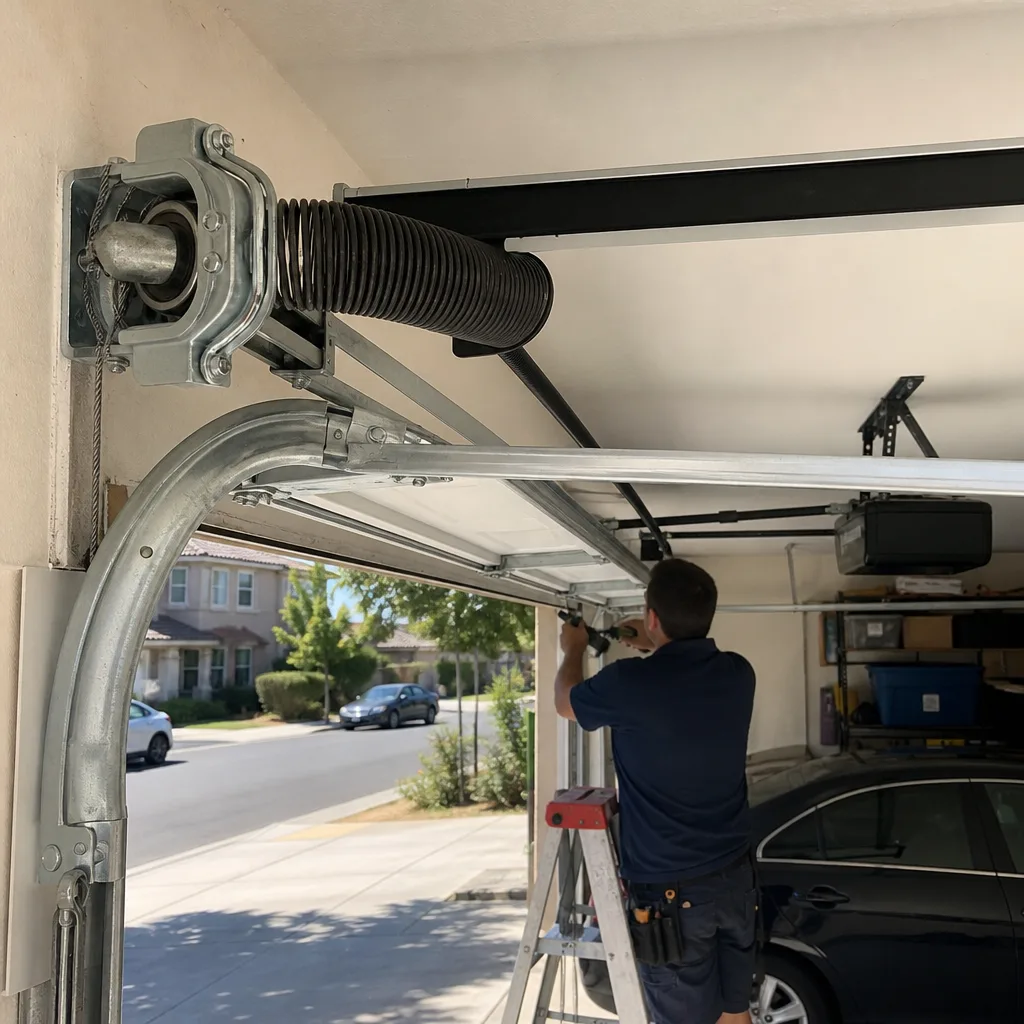 After
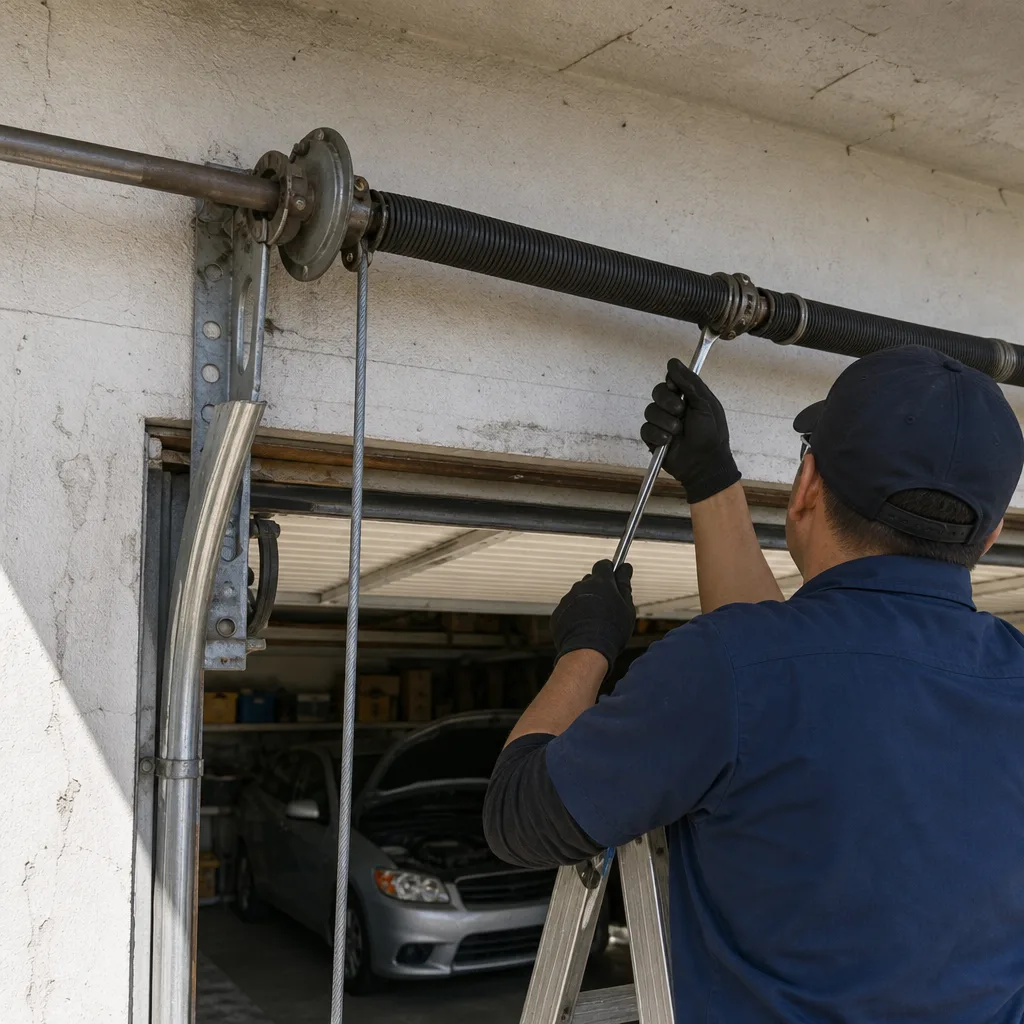 Before
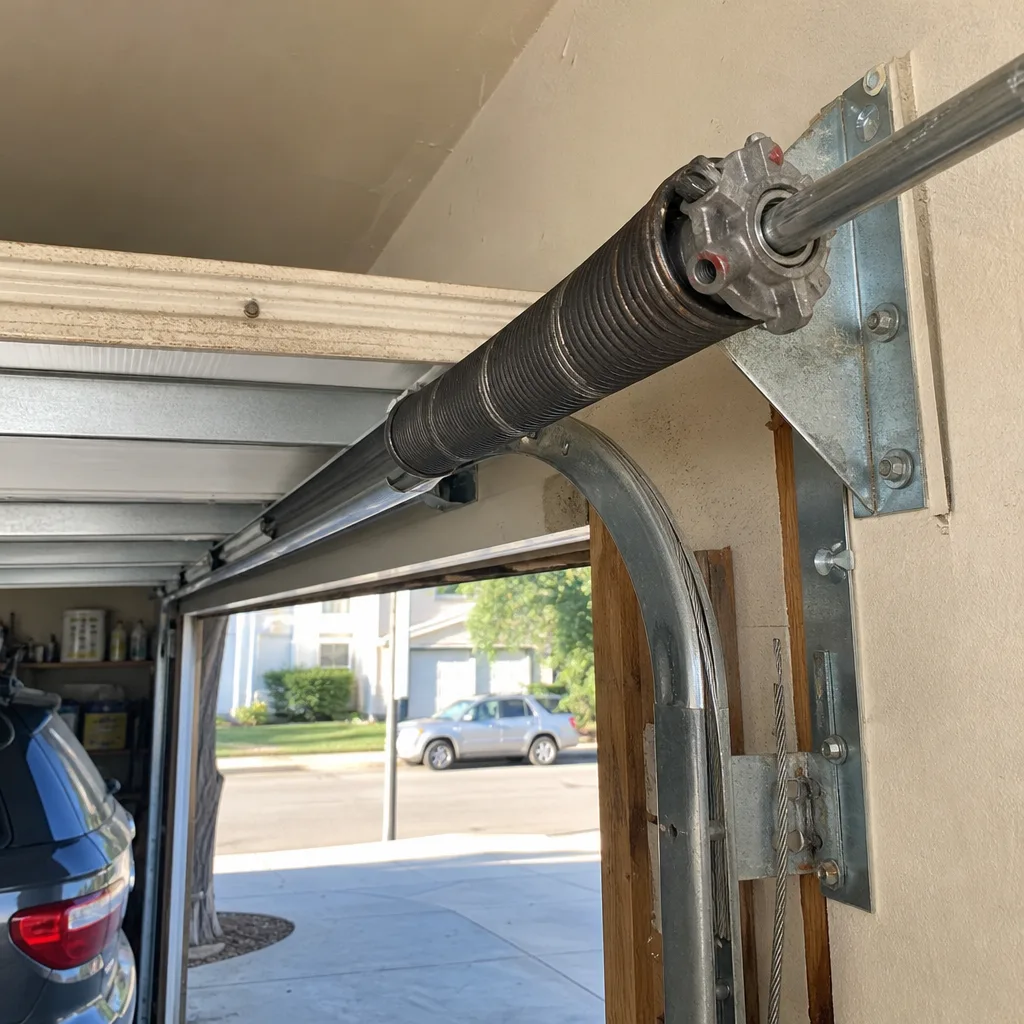 After