
Last updated November 2, 2026
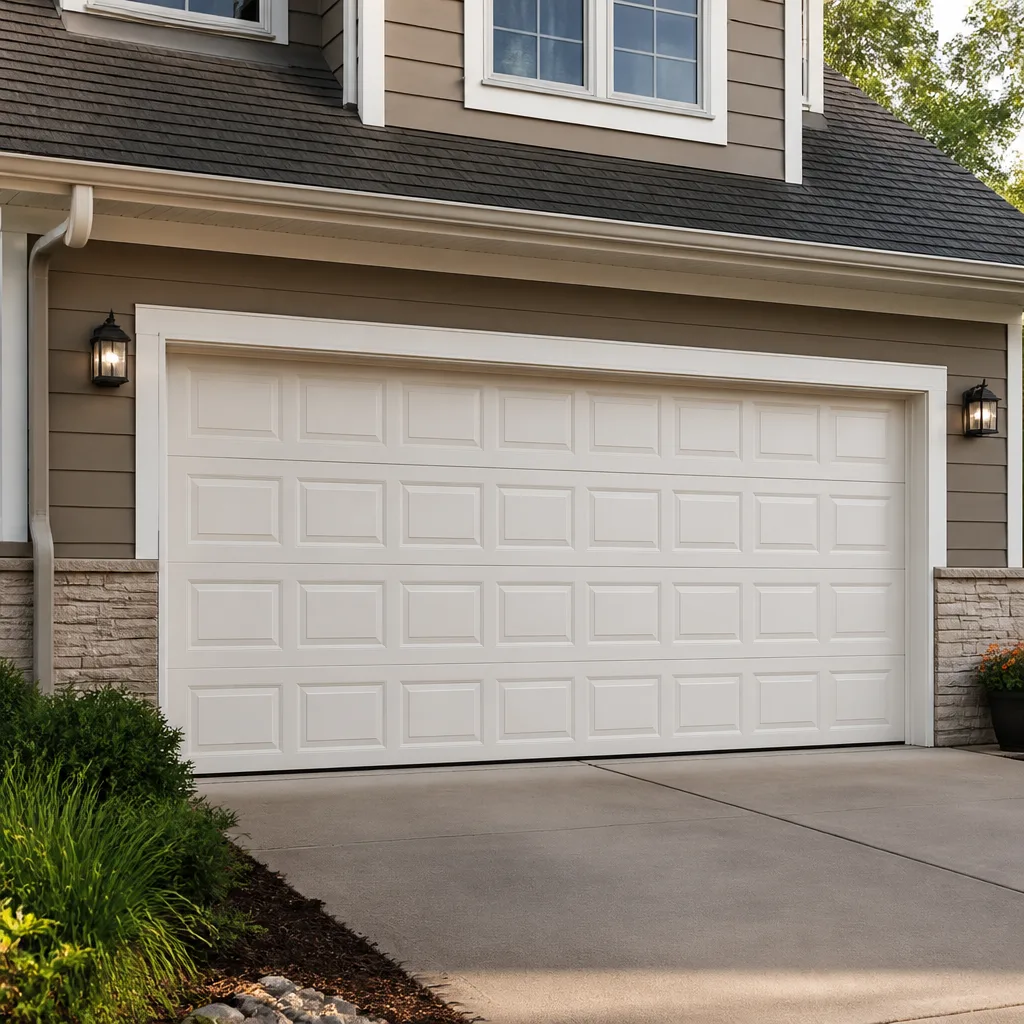 Raised-panel steel
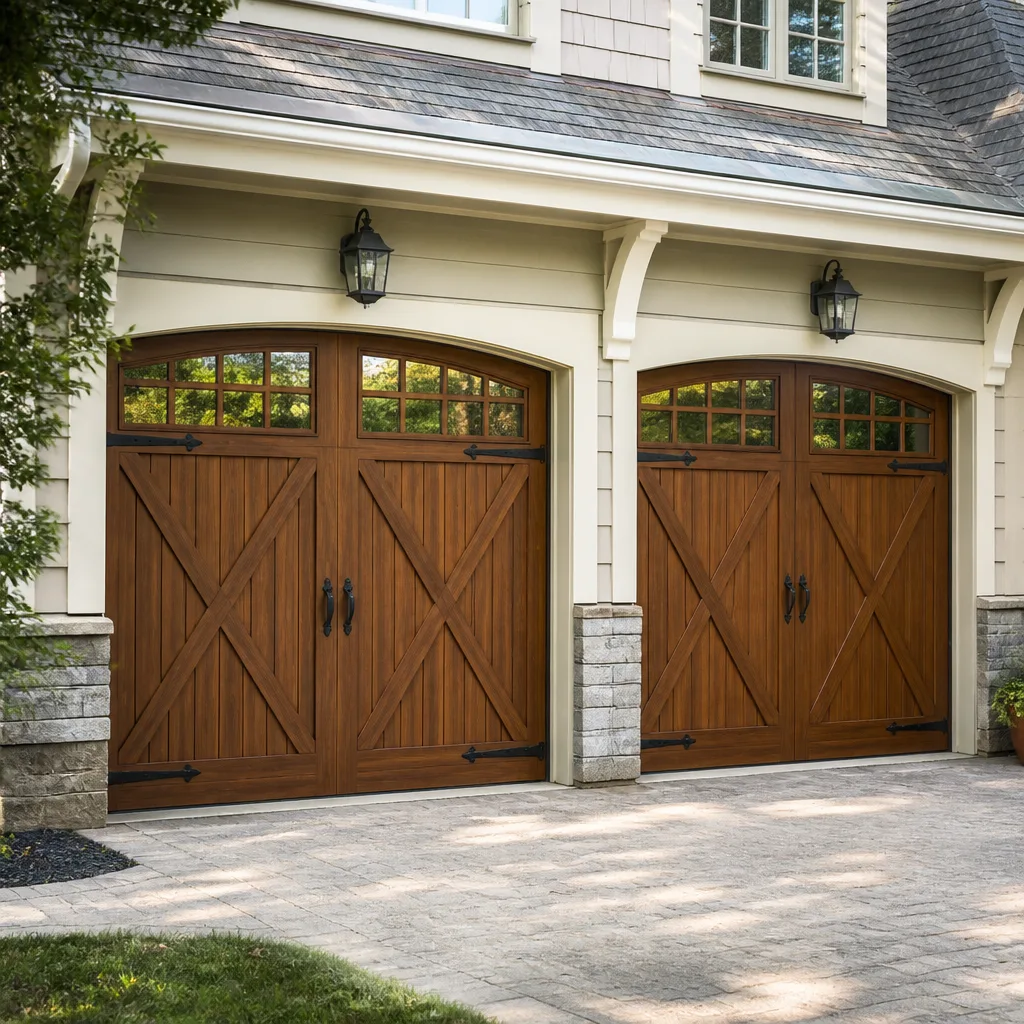 Carriage house
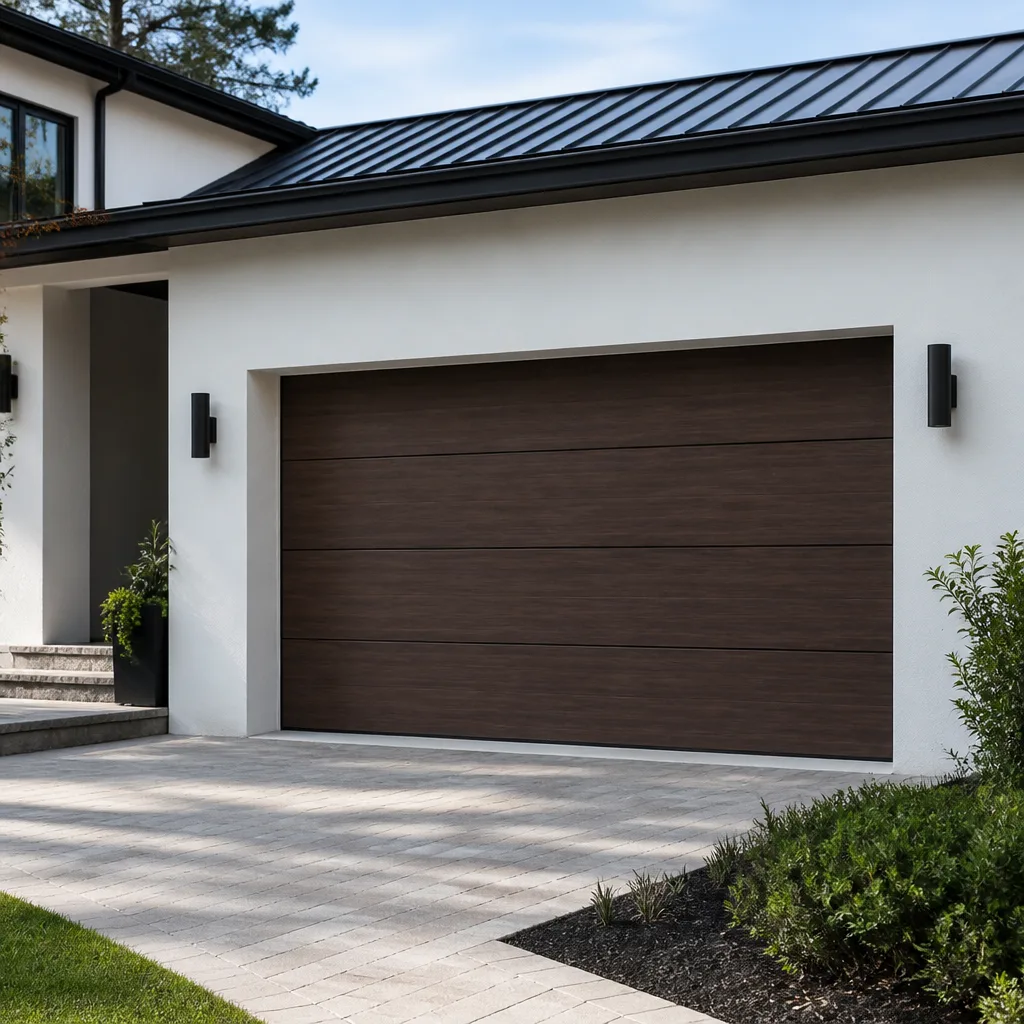 Modern flush
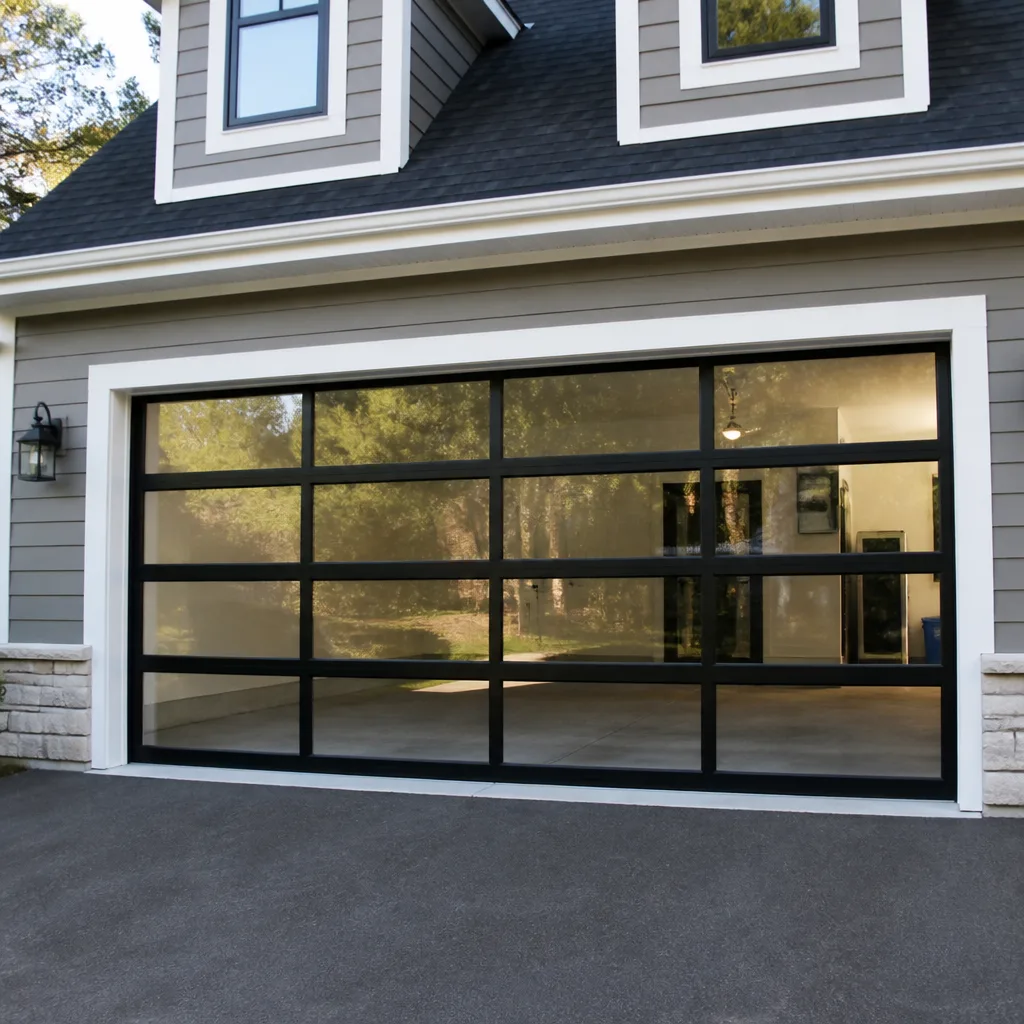 Full-view glass
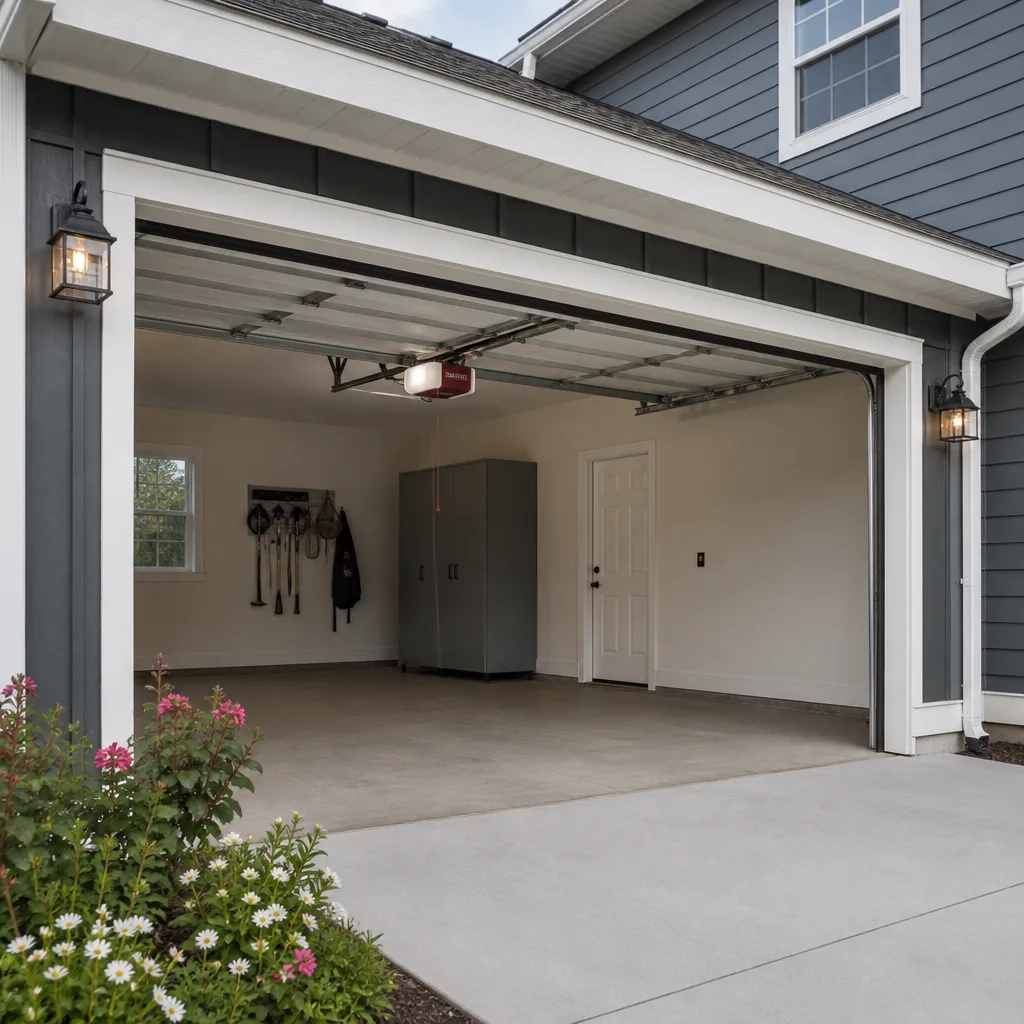 LiftMaster openers
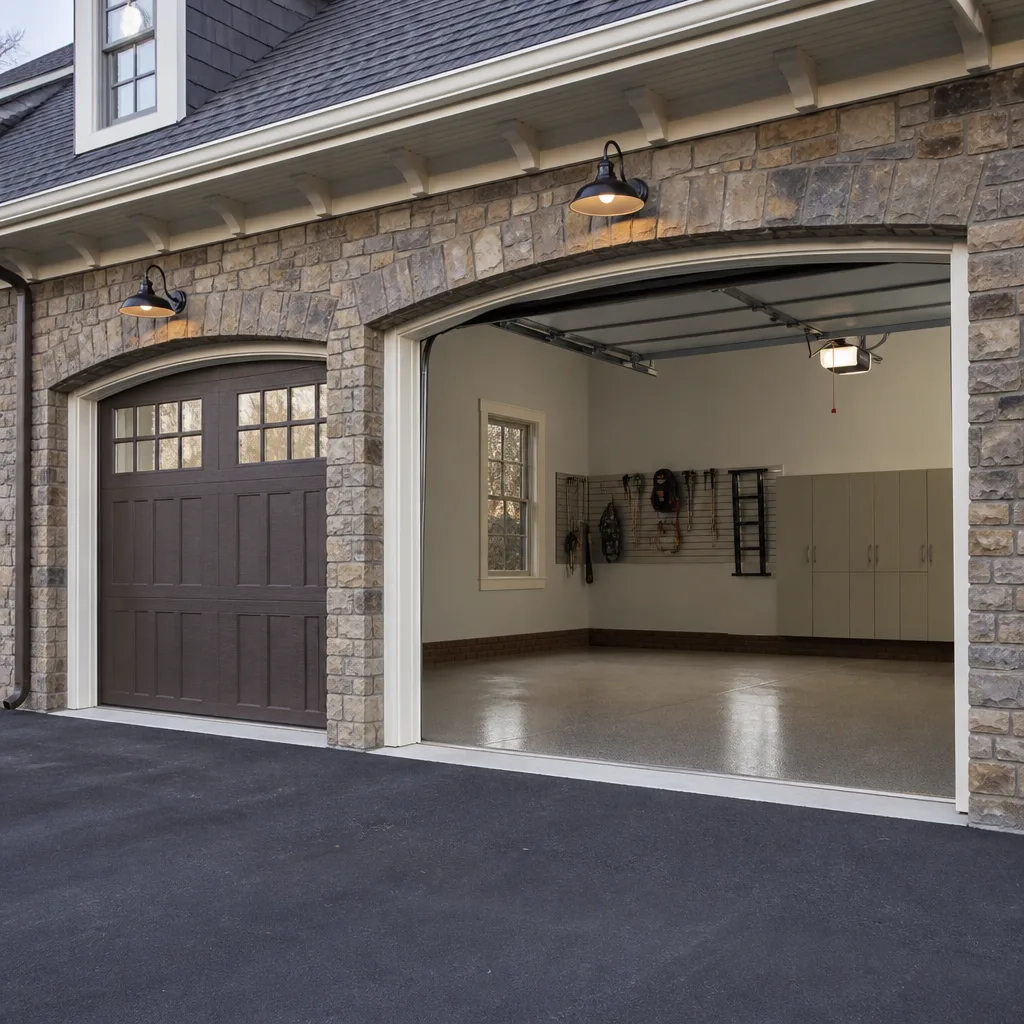 Chamberlain openers
Full 25-point door and opener safety check with every visit - springs, cables, rollers, tracks, and your LiftMaster or Chamberlain opener included
You get a price before we start. It does not change when the truck arrives.
Get your free estimateDIY vs Professional Garage Door: The Orange Homeowner’s Decision Guide
A torsion spring on a double-wide garage door holds roughly the same stored energy as a .44 Magnum round. That’s not a metaphor. It’s the mechanical reality of a 200-pound door counterweight coiled into a 2-inch steel tube above your head. Before you watch a YouTube tutorial and grab a pair of winding bars, understand that the DIY-versus-professional question isn’t really about how handy you are. It’s about which specific tasks carry injury risk that no amount of preparation eliminates, and which tasks a careful Orange homeowner can genuinely own. This guide draws that line precisely, task by task, with the cost implications of each choice made clear.
Quick Answer
Most garage door maintenance and cosmetic repairs are safe, satisfying DIY projects for a careful Orange homeowner, but anything involving torsion springs, cable replacement under tension, or opener logic-board work is professional-only territory. A realistic homeowner can expect to save $80 to $300 a year handling lubrication, track cleaning, weatherstripping, and sensor alignment themselves, while spring failure demands a same-day professional call that typically costs $180 to $340 in Orange.
Styles & brands we work with
- Raised-panel steel
- Carriage house
- Modern flush
- Full-view glass
- LiftMaster openers
- Chamberlain openers
Table of Contents
- The Line That Matters: Energy Load, Not Skill Level
- Safe DIY: Tasks Any Careful Homeowner Can Own
- DIY With Specific Knowledge: Proceed With Caution
- Professional-Only: The Non-Negotiable Line
- The Honest Cost Comparison: When DIY Saves, When It Backfires
- Parts Sourcing in Orange: Home Depot vs. Trade Suppliers
- The Orange Homeowner’s Skill-Assessment Checklist
- Common Mistakes to Avoid
- When to Call a Professional
- Frequently Asked Questions
The Line That Matters: Energy Load, Not Skill Level
Most people frame the DIY question as “Am I handy enough?” That’s the wrong question. The right one is “How much stored energy is in this component, and what happens to my body if it releases at the wrong moment?” When you frame it that way, garage door work sorts itself into clean tiers almost automatically.
A garage door system has four energy sources. The door’s own weight, typically 130 to 250 pounds for a standard two-car door. The torsion or extension springs that counterbalance that weight, wound to exact tension. The opener motor and drive mechanism pulling the door along the track. And gravity, always waiting. When a door is balanced correctly, a grown adult can lift it with two fingers because the springs do the work. When a spring breaks, that math inverts instantly, and the door becomes a falling object with enough mass to cause serious injury.
In Orange, we see a particular seasonal pattern. The dry inland heat of August and September, combined with the temperature swings of Santa Ana wind events, accelerates metal fatigue in garage springs. Springs that have been in service seven to nine years often fail during the first cold snap of autumn, when the metal contracts after months of heat expansion. If your door has passed its eighth birthday and you hear a loud bang from the garage one morning, that’s almost certainly what happened – exactly the scenario covered in our Garage Door Emergency Preparedness Guide for Orange Homes.
Safe DIY: Tasks Any Careful Homeowner Can Own
These tasks involve zero stored energy in the dangerous sense. The door stays on its hinges, the springs stay wound, and the worst realistic outcome is a scraped knuckle or a strip of rubber that needs re-gluing.
1. Lubrication and Cleaning
Every six months, your garage door needs the same basic attention as your car’s moving parts. Use a lithium-based grease on the hinges, rollers, and the opener chain or screw drive. Use a silicone spray on the weatherstrip and the torsion spring itself (never grease the spring, which collects grit). Wipe the tracks clean with a cloth, but leave them dry. This is a 20-minute job that measurably extends component life and quiets a noisy door. Cost: one $9 can of spray lubricant that lasts two years. The garage door repair calls that start with “it was grinding and then it stopped” often trace back to years of zero lubrication.
2. Weatherstrip Replacement
The rubber strip along the bottom of your door seals against water, insects, and dust, and in Orange’s summer, against the fine particulate that blows in during Santa Ana events. It slides out of a channel at the bottom of the door panel and the replacement slides back in. No tools beyond a pair of scissors required. Cost: $20 to $40 at any Orange hardware store, and your energy bill thanks you.
3. Photo-Eye Sensor Cleaning and Realignment
Those two little eyes near the bottom of the track, one on each side, are what keep the door from closing on your car, your child, or your dog. When they get dusty or knocked out of alignment, the door refuses to close and blinks at you. Clean the lenses with a soft cloth. Check that both lights are solid. If one blinks, loosen the wing nut, adjust the sensor until the lights steady, and retighten. This is the fix for most “door won’t close” complaints. Cost: zero dollars, ten minutes.
4. Cosmetic Panel Repair
Dented steel panels and chipped paint on a Woodbridge or El Modena home are common, especially after a stray basketball or a hurried parking job. Small dents can be pushed out from behind or filled with auto-body compound and repainted. If the dent doesn’t affect the panel’s structural integrity or the door’s balance, it can wait. If the panel is cracked through or the door sags on one side, that’s not cosmetic anymore.
DIY With Specific Knowledge: Proceed With Caution
These tasks sit in a gray zone. They don’t involve the raw energy of a wound spring, but they do require a working understanding of how the door’s components interact. A mistake here usually results in a door that doesn’t work right or a component that wears out faster, not a trip to the emergency room.
1. Track Alignment and Bolt Tightening
Over years of use, the bolts that hold the vertical and horizontal tracks to the garage framing work loose. You’ll hear rattling, see visible gaps between track and wall, or notice the rollers binding at a specific point. Retightening these bolts is straightforward, but alignment matters: the tracks must remain parallel within a quarter inch or the rollers bind and wear unevenly. A 4-foot level is your friend here. If the track itself is bent or the wall anchors are pulling out of the framing, stop and call. That’s structural movement, not maintenance.
2. Roller Replacement
Plastic and steel rollers wear out every five to seven years. Nylon-lined steel rollers are quieter and last longer. The top and bottom rollers are attached to the door and to the bottom bracket, and here’s the catch: the bottom bracket is bolted to the same frame the cable runs through. On a standard torsion-system door, you can replace the mid-track rollers by unbolting the hinge and popping the roller free. But the bottom roller sits directly adjacent to the cable drum. If the cable slips or the bracket shifts, the door twists and binds. If you know how to identify a torsion system versus an extension system and you can see that the cable is untouched by the roller swap, this is doable. If any doubt exists, the opener repair team that does this weekly can knock it out safely in one visit.
3. Opener Remote Programming and Travel-Limit Adjustment
Programming a new remote for a Chamberlain, Genie, or Craftsman opener is designed to be homeowner-friendly. The learn button on the motor unit, the button on the remote, a blinking light, done. Travel-limit adjustment, which controls how far the door travels up and down, is also accessible via the opener’s control panel or smartphone app for newer models. But understand the purpose: these settings exist so the door stops exactly at the floor and at the fully open position. If your door closes then immediately reverses, the close limit may be set too low and the opener interprets the floor as an obstacle. A half-turn adjustment fixes it. But if the limit adjustment doesn’t solve the reversal issue, the problem is likely a failing logic board, a frayed wire, or a broken gear inside the motor unit, and that’s a different conversation.
Professional-Only: The Non-Negotiable Line
This is the section where the line becomes absolute. These tasks involve high energy under controlled tension. When that tension releases incorrectly, it releases all at once.
1. Torsion Spring Replacement
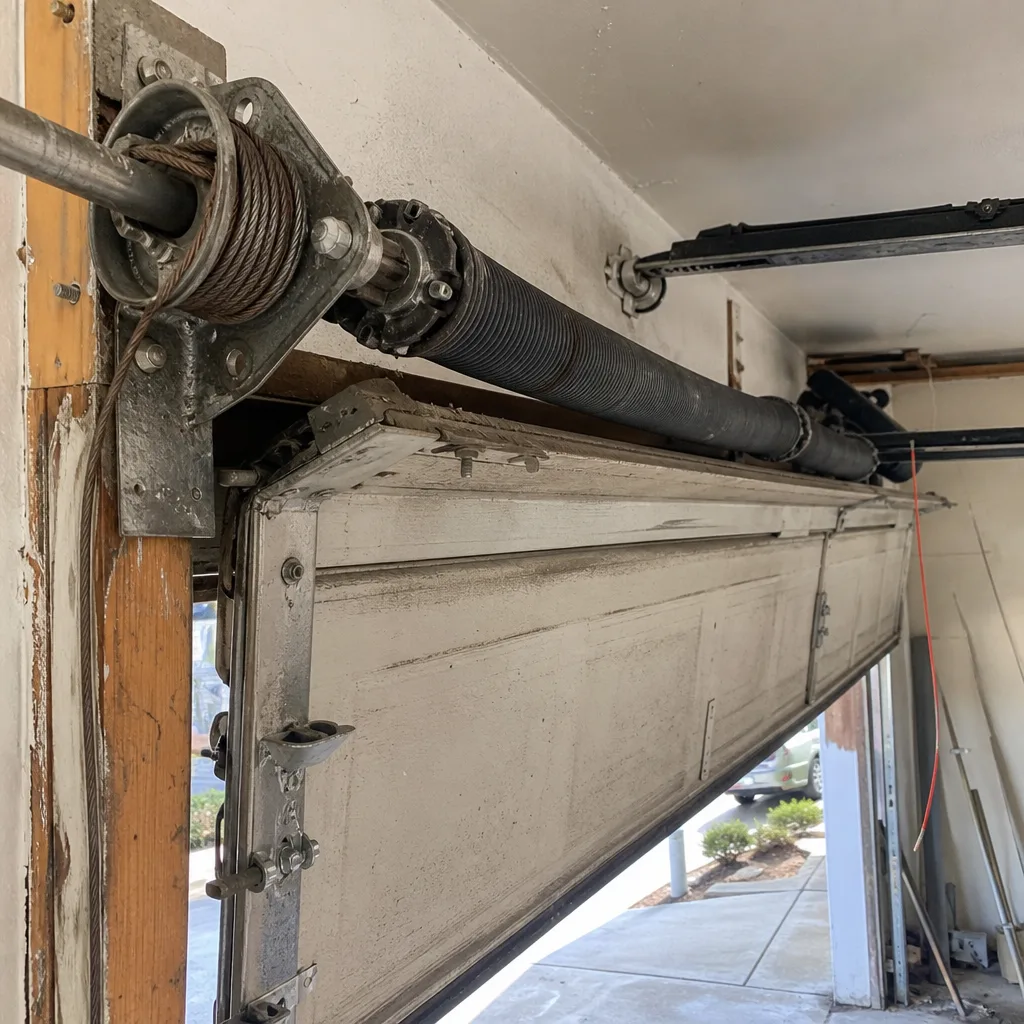
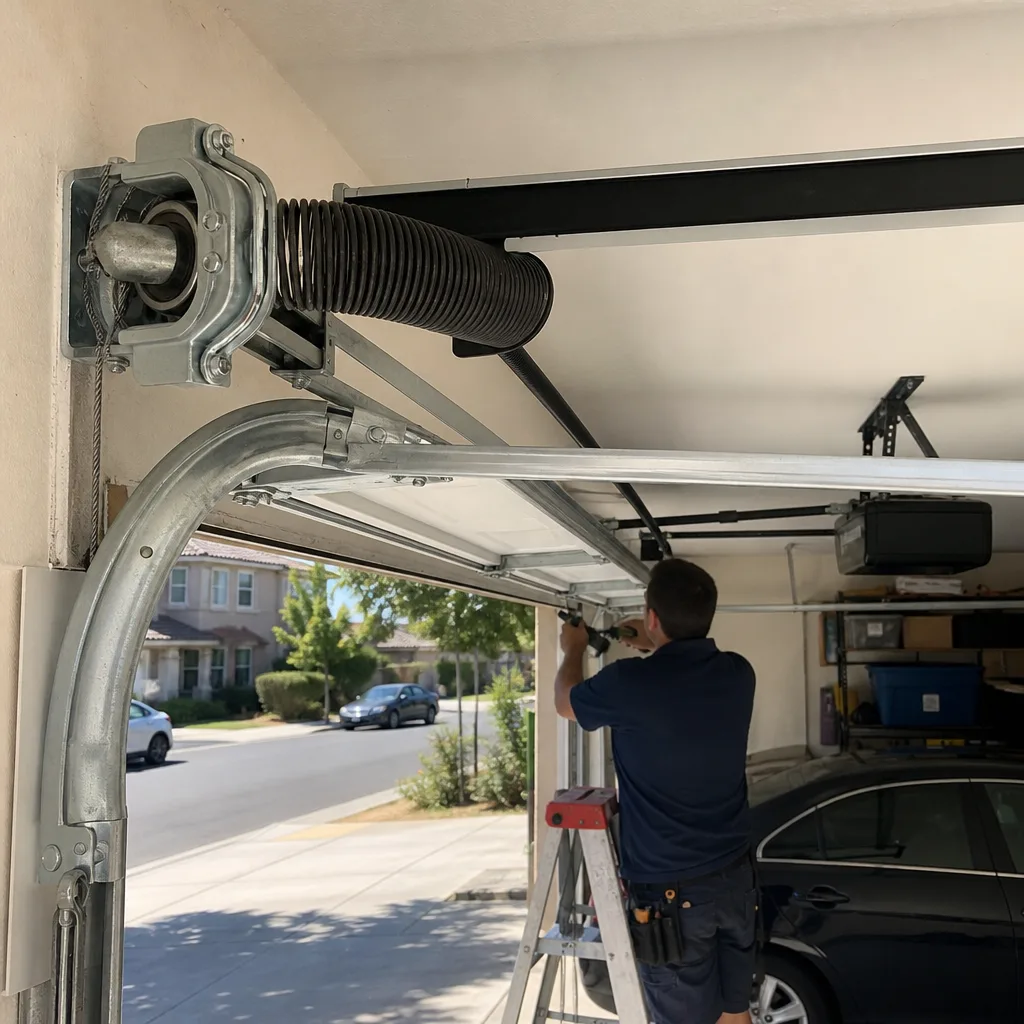
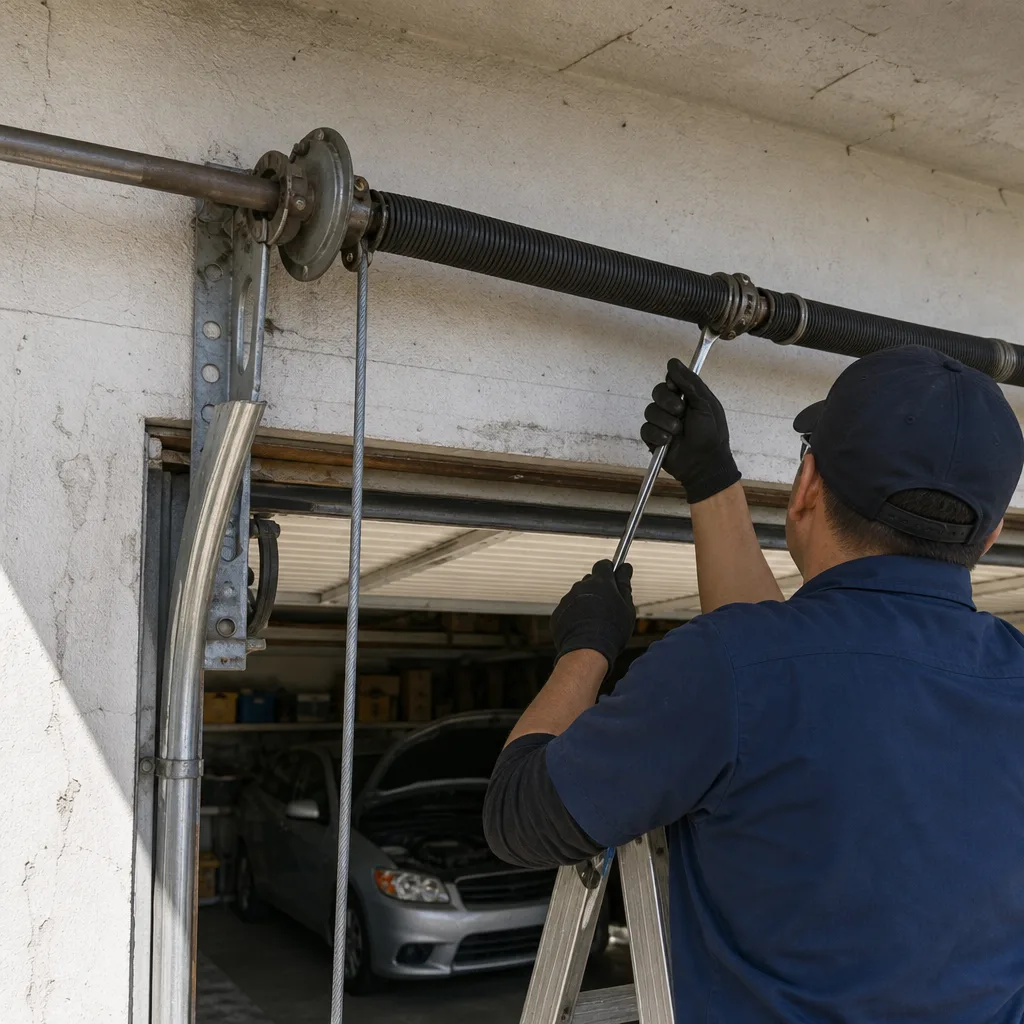
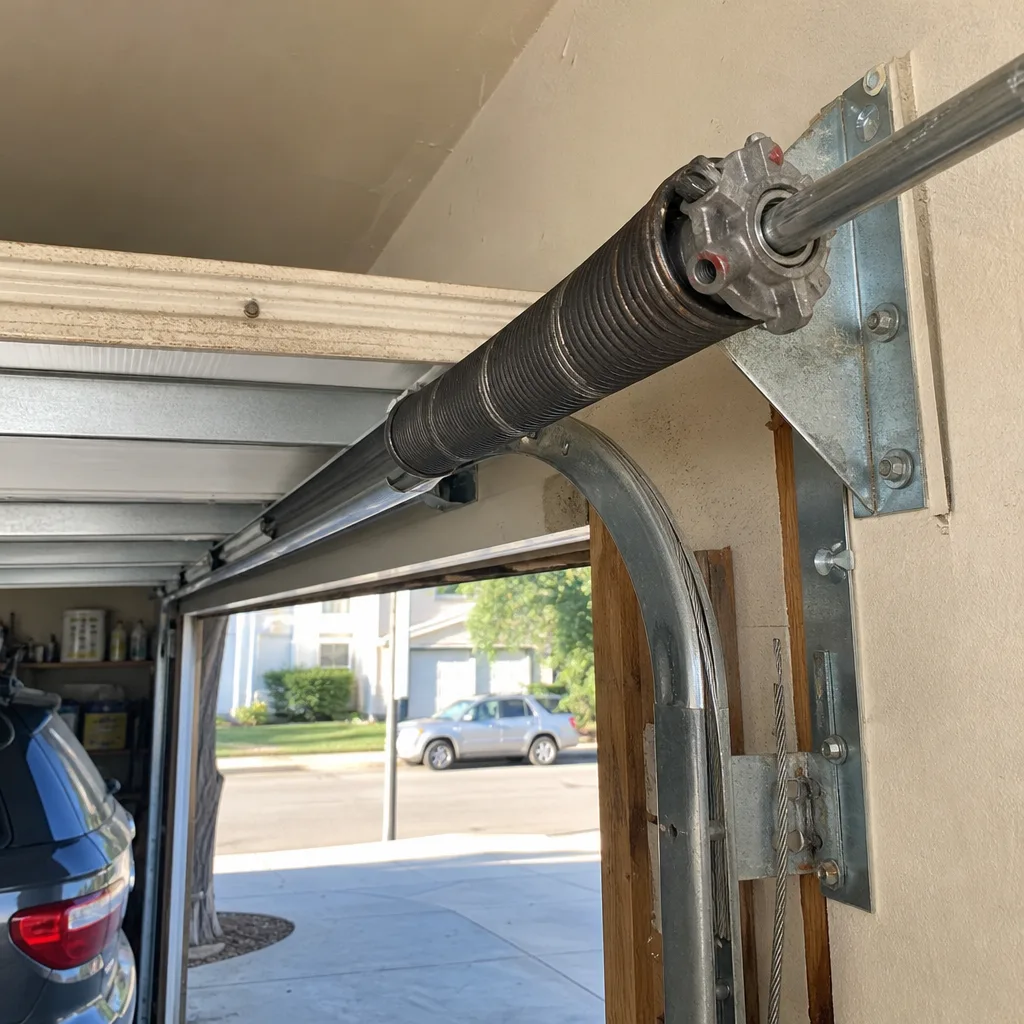
This is the one task on this list that is non-negotiable. A torsion spring is a steel coil mounted on a shaft above the door opening. For a 16-by-7-foot door, that spring is wound between 7.5 and 8.5 full turns to counterbalance the door’s weight. All that stored energy sits in a two-inch tube held in place by a set screw and a cone. When you turn the winding bars to add or release tension, the forces are operating at roughly 10,000 inch-pounds of torque. If the bar slips, or the set screw fails, or the spring itself snaps mid-wind, the released energy goes into the bar you’re holding. A winding bar becomes a projectile. Fingers, wrists, and facial bones lose that fight every time. In our experience across Orange, a homeowner who has watched someone else do this once and thinks it looks manageable is the highest-risk profile we encounter. It looks controlled because a professional makes it look controlled.
2. Cable Replacement
The lift cables run from the bottom brackets on each side of the door, up over the drums, and attach to the spring shaft. They are under the same tension as the spring system. When a cable frays and snaps, the door jerks to one side and can bind hard in the tracks. Replacing a cable means taking the tension off the spring first, then removing the old cable, then reinstalling and re-tensioning the entire system. Doing it in the wrong order is how a 200-pound door ends up on the hood of a car. This is the failure mode that turns a $150 cable replacement into a $1,800 door and track replacement.
3. Opener Logic Board and Gear Replacement
Modern openers from Chamberlain, Genie, and other major brands have durable motors and fragile electronics. The logic board is the brain, and the drive gear is the muscle. Both fail eventually, usually after six to ten years of daily cycles. Opening the motor unit and swapping these parts requires matching the exact board revision to your opener model, dealing with small gauge wiring that costs more to re-crimp if damaged, and often re-flashing the board with current firmware. The parts are sometimes $40. The knowledge, and the risk of a bricked opener, is the actual cost. A garage door opener that won’t respond after a failed DIY logic board repair means a garage that won’t open at all, which for many Orange homes is the primary point of entry.
The Honest Cost Comparison: When DIY Saves, When It Backfires
Let’s talk numbers, because the DIY-versus-hire question is really a money question for most Orange homeowners. Here’s the arithmetic, based on what we see on service calls across the area.
What DIY Actually Costs
- Lubrication and cleaning: $9 spray can, 20 minutes, twice a year. DIY savings versus hiring: negligible, because no professional charges for this alone. DIY wins by default.
- Weatherstrip replacement: $20 to $40 in parts, 30 minutes. A professional replacement typically costs $85 to $130 in Orange. DIY saves $50 to $90.
- Sensor cleaning and realignment: $0, 10 minutes. A service call for this issue costs $75 to $125. DIY saves the full service fee.
- Roller replacement (mid-track only): $15 to $25 per roller at retail, plus an hour of careful work. A professional roller swap runs $120 to $180. DIY saves $80 to $120 if the bottom brackets stay untouched.
- Remote programming: $0 if you already have the remote, $25 to $40 for a new one. Professional programming costs $50 to $75. DIY saves $50.
What DIY Mistakes Actually Cost
- Attempted torsion spring winding: the spring is $80 to $120 at retail. The emergency room visit averages $3,500 in Orange County, and that’s before the door falls and takes out the track. A professional replacement is $180 to $340, including the spring. The math is obvious.
- Cable replacement gone wrong: a cable is $25. The door that drops off the tracks when the cable releases is $400 to $900 in damage, plus the original repair. Professional cable replacement: $150 to $225.
- Opener logic board diagnostic errors: the board might be $50. The opener that needs replacing after a failed board install is $350 to $700 installed. Professional diagnostic: $75 to $125, credited toward repair.
One more cost that rarely appears in these comparisons: warranty. Most major door manufacturers, including Clopay and Amarr, void the door’s warranty if the spring system is serviced by an unqualified person. Most opener manufacturers do the same for internal opener work. If your door is less than five years old and an amateur spring repair leads to a door failure, the full replacement cost is yours. If a professional does the work, the parts and labor carry a workmanship warranty that retail parts never include.
Parts Sourcing in Orange: Home Depot vs. Trade Suppliers
Here’s something most DIY-versus-professional guides skip entirely: the parts you can actually buy in Orange tell you a lot about what you should and shouldn’t attempt.
The four Home Depot locations serving Orange, the two in Anaheim, and the Tustin Marketplace location stock a specific set of parts. Weatherstripping, remote controls, safety sensors, lubricants, hinges, and generic rollers. These are the parts that support safe DIY work. The shelf is telling you something by what it doesn’t include.
You will not find a torsion spring on a Home Depot shelf. You will not find lift cables, drums, or bottom brackets. These parts move through specialized channels. Garage door wholesalers and trade suppliers in the Orange area sell to service companies and contractors by account. The quality difference matters more than the gatekeeping: trade springs are typically rated for 10,000 to 20,000 cycles and are matched to the door’s weight and height by a professional using a winding chart. The generic springs sold online are often single-size, single-wire-gauge products that may be over- or under-wound for the specific door. Over-winding creates dangerous stress on the shaft and drums. Under-winding means the door doesn’t balance, the opener motor strains, and the spring fails early. We’ve seen “new” springs fail within a year on Orange garage doors because they were the wrong gauge for the door’s weight. That’s not a savings, it’s a deferred cost.
The practical takeaway: if the part is on a retail shelf in Orange, the task is likely safe to attempt. If the part requires a trade account to buy, that’s the market telling you the task requires a trade skill set. Our garage door installation work is done with the same principle: the right part, correctly matched, installed once.
The Orange Homeowner’s Skill-Assessment Checklist
Before you commit to any DIY garage door work, run yourself through this checklist. Answer honestly, because the door won’t care about your confidence level when it’s falling.
- Can you identify whether your door uses torsion springs (above the opening, on a shaft) or extension springs (along the horizontal tracks)? If you can’t tell the difference yet, you have no business touching anything spring-adjacent. The distinction matters because the failure modes and safety procedures are completely different.
- Have you ever worked under mechanical load before? Changing a car tire is load work. Replacing a serpentine belt is load work. If you’ve never had to manage tension or compression, start with lubrication and weatherstripping, which involve zero load.
- Do you own winding bars, or just some random metal rods? Winding bars are $15 to $40 and sized to fit the winding cone exactly. A steel rod that “looks close enough” is how the cone strip happens mid-wind.
- Is your door’s balance currently good? Disconnect the opener (pull the red handle) and lift the door manually to waist height. If it stays put, balance is good. If it drops or rises on its own, the spring tension is off, and any DIY work on the door will be fighting or amplifying that imbalance.
- Do you know which brand of opener is on the motor unit? Chamberlain, Genie, and Craftsman each have different programming sequences and board revisions. If you’re doing remote programming or travel-limit work, the brand determines the procedure.
- Have you watched a professional do the task you’re attempting? Watching a controlled spring replacement teaches you what “controlled” looks like, which is the only way to recognize when you’re losing control mid-task.
Common Mistakes to Avoid
- Treating all spring work as one category. Extension springs and torsion springs are different systems with different failure modes. Extension spring replacement on an older Orange home is sometimes doable by a careful homeowner with the right safety cables threaded through the spring. Torsion spring work is never a DIY task. Conflating the two is how injuries happen.
- Using the wrong lubricant. WD-40 is a solvent, not a lubricant. It strips away protective films and leaves metal parts drier than they started. On hinges and springs, use lithium grease or a dedicated garage door lubricant. On the wrong part, WD-40 creates more friction than it prevents.
- Replacing one spring on a two-spring system. If your door has two torsion springs and one breaks, both are at the end of their service life. Replacing only the broken one leaves an old spring on the other side, which fails soon after and wipes out the new spring. A professional replaces both at once.
- Ignoring the red emergency handle. That handle disconnects the opener from the door. Pulling it while the door is raised, without understanding that the door’s weight is now unsupported by the opener or the springs, is a fast way to drop 200 pounds of steel and paneling on whatever’s underneath.
- Adjusting the travel limits to compensate for other problems. If the door is binding, the opener’s force sensor will reverse it repeatedly. The correct fix is resolving the binding, not cranking the force setting higher. Increasing the close force to “push through” resistance is how garage doors close on people and pets.
- Buying parts before diagnosis. We see this weekly in Orange. A homeowner hears a grinding noise, decides it’s the rollers, buys 10 rollers, replaces all of them, and the grinding persists. It was the opener gear. Now $75 of rollers and a Saturday are gone, and the real problem is untouched. Diagnose first, then buy.
When to Call a Professional
Here’s the short version. Call if you hear a loud bang from the garage, if the door is uneven or jammed in the tracks, if the opener smokes or smells like burning plastic, or if the door reverses every time it touches the floor despite your best sensor cleaning. Call if any cable is frayed, any spring is visibly broken, or the door’s balance has degraded noticeably. These are not skill-level problems. They are safety problems with a countdown attached.
Citadel Garage Door Repair home service area covers all of Orange. We provide free estimates and diagnose before we quote, so you always know the exact cost before work begins. Call (844) 320-8271 and describe what you’re seeing. We’ll tell you honestly whether it’s a DIY fix or a service call.
Frequently Asked Questions
A torsion spring replacement in Orange typically costs between $180 and $340, including the spring, labor, and a rebalancing of the door. Extension spring replacement runs slightly lower, $150 to $250. The exact quote depends on the door’s weight, height, and spring configuration, but you’ll know the number before any work starts. Call (844) 320-8271 for a free estimate.
No. Extension spring replacement on an older system with a functional safety cable can sometimes be done by a careful, experienced homeowner, but torsion spring replacement should never be attempted without professional tools, training, and shop experience. The stored energy in a wound torsion spring is enough to cause severe injury if the winding bar slips. This is the one task on this list with no safe DIY path.
Lubricating hinges and rollers, cleaning the tracks, replacing the bottom weatherstrip, cleaning and realigning the photo-eye sensors, and programming a new remote are all safe, straightforward DIY tasks that require no specialized tools or knowledge. If the part is available on a retail shelf in Orange, the task is generally safe to attempt.
The most common cause is misaligned or dirty photo-eye sensors. Clean the lenses with a soft cloth and check that both lights are solid. If the lights keep blinking, loosen the wing nut and adjust the sensor until the lights steady. If the sensors are fine, check the travel limit setting. If both are fine and the problem persists, the logic board or drive gear may be failing, and that’s a professional diagnostic call.
Twice a year. Orange’s dry inland heat dries out lubricants faster than coastal climates, and the seasonal temperature swings between summer and winter stress metal components. A six-month schedule for lubrication and visual inspection catches fraying cables and loose bolts before they become failures.
In most cases, yes. Clopay, Amarr, and the major door manufacturers void the warranty if the spring system or structural components are serviced by an unqualified person. Most opener manufacturers do the same for internal opener work. Keep your receipts and your professional’s service record if your door is under warranty.
The Bottom Line
The DIY-versus-professional question resolves to one factor: stored energy. When the component you’re touching holds enough stored energy to hurt you if it releases, the task is professional by definition, regardless of how handy you are. When the component is inert, the task is yours. A careful Orange homeowner can handle lubrication, weatherstripping, sensor cleaning, and remote programming. A professional must handle springs, cables, and opener internals. The financial breakdown supports the same line: DIY saves money on the safe tasks, and creates expensive problems on the dangerous ones. Know which side of the line you’re standing on before you pick up the tool, and explore more guides & resources to keep your door safe year-round.
Written by the team at Citadel Garage Door Repair, serving Orange since 2018.
See the difference
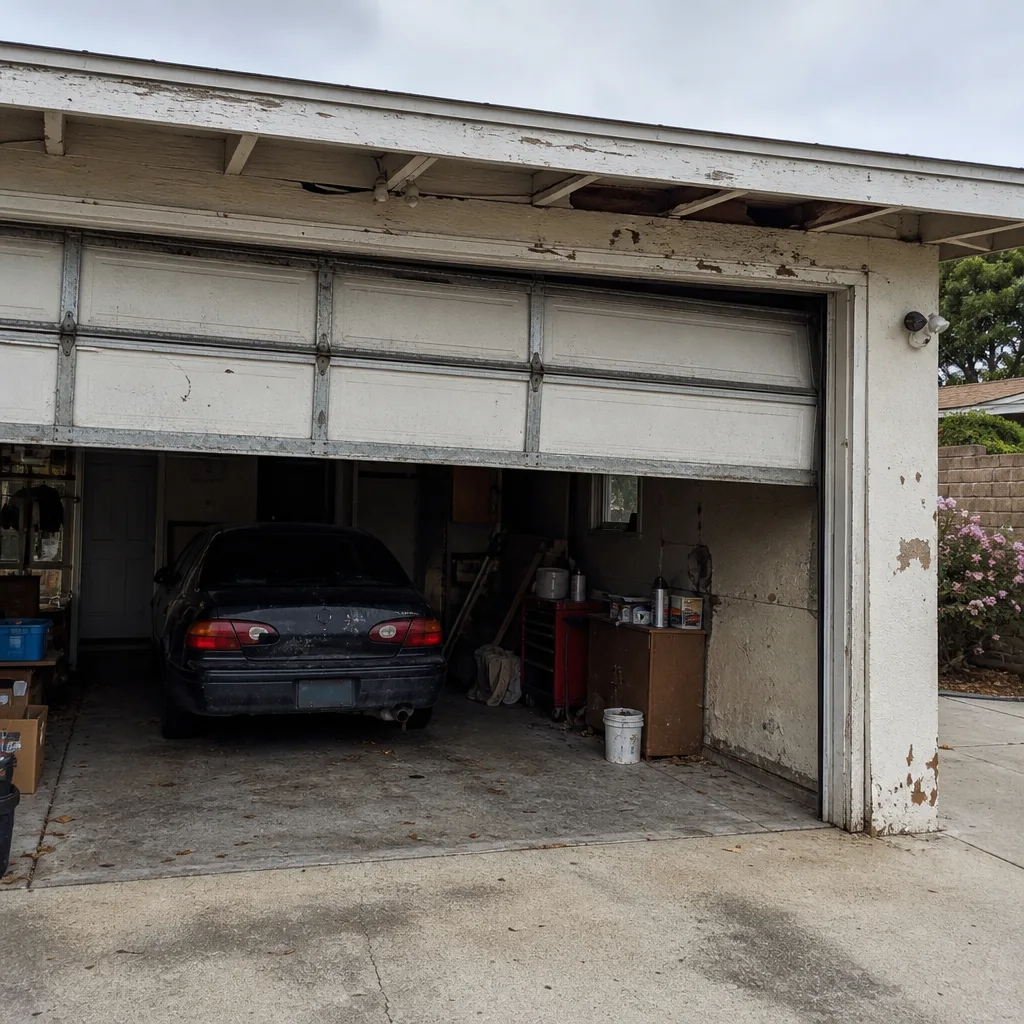 Before
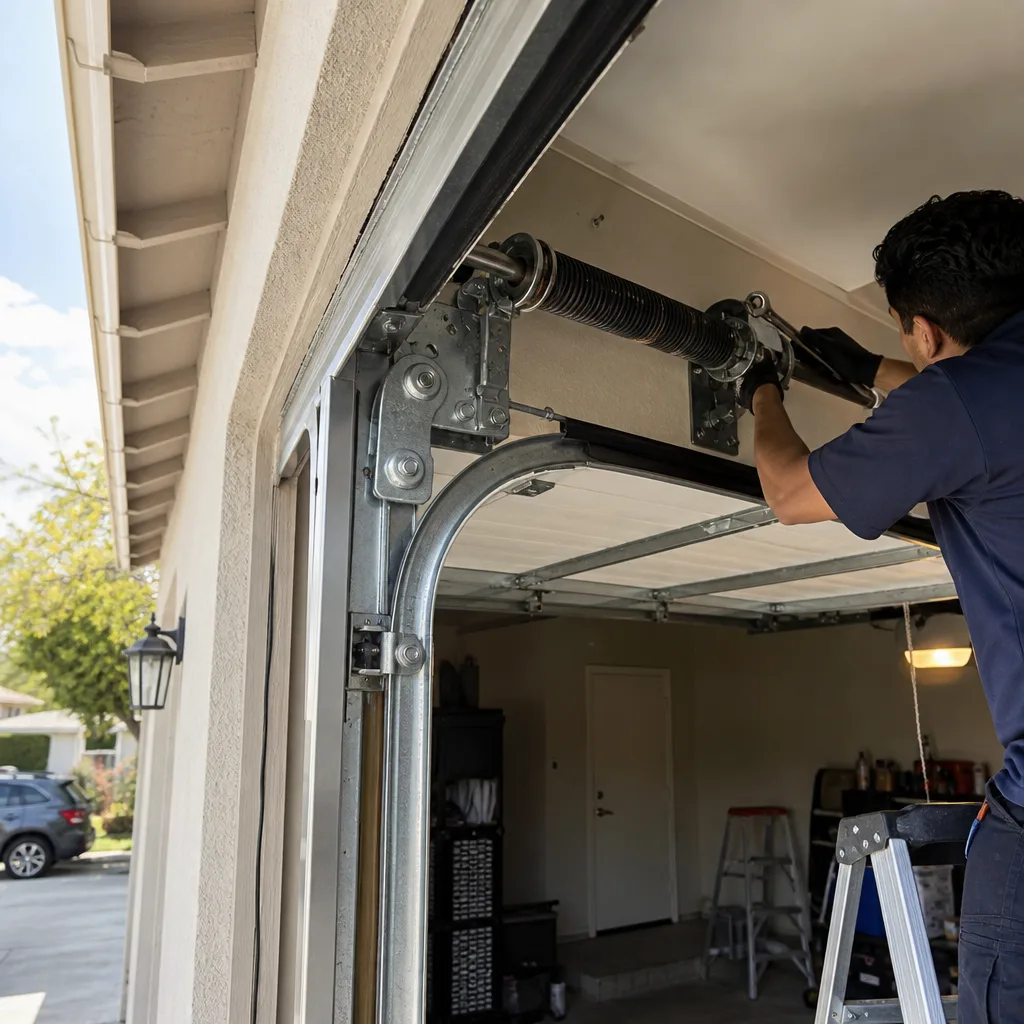 After
 Before
 After
 Before
 After